Access
Connect to this page using your team credentials.
Use the upper menu to navigate through the pages.
![]()
Dashboard
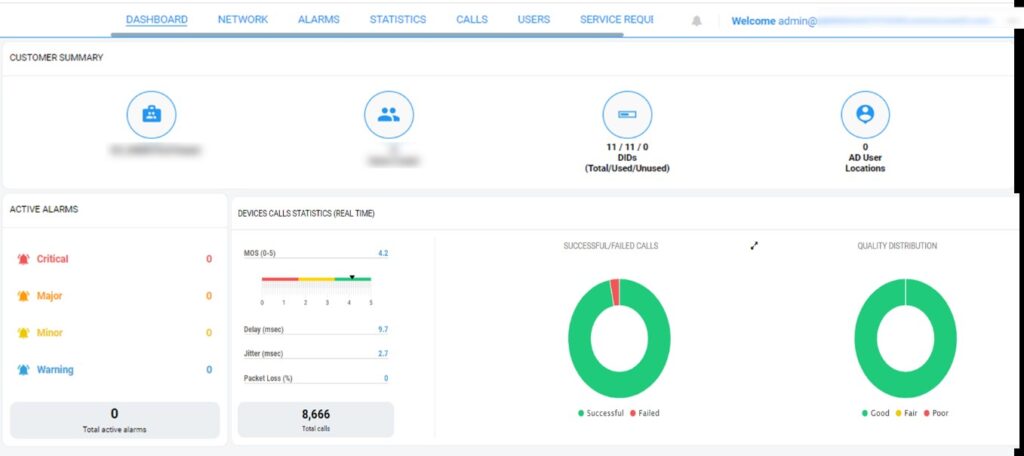
The dashboard is the main page that will give you a glance at the status of the voice platform.
It allows you to quickly see the number of calls in the last 24h and the quality of the calls.
Alarms
Here you can find the list of alarms regarding licenses or platform availability.
Statistics
Several sub-pages are available in this section

a. In “Provider side” page
Find in the section a graph with the number of calls, calls successful, and quality reports
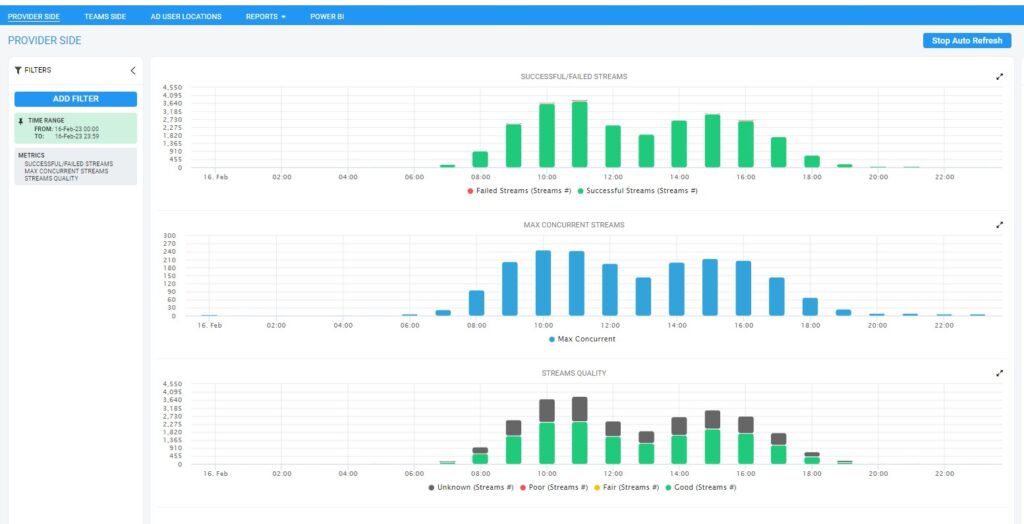
By clicking on any of the bars, the list of calls at that time/day will appear, giving a detailed report of each call per user and the exact time.
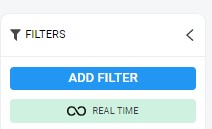
Use the date filters that are available on the left side, and choose per day, month, or a specific period.
b. Reports
Several reports predefined are available in the portal. It is possible to run them immediately. By choosing, the report desired and clicking on the top blue button “RUN”
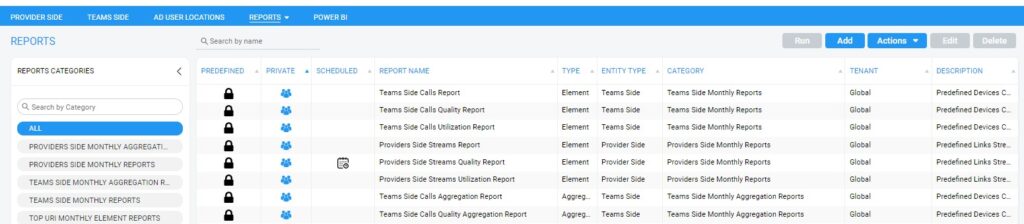
After running the report it is possible to download them in PDF or CVS format
c. PowerBI
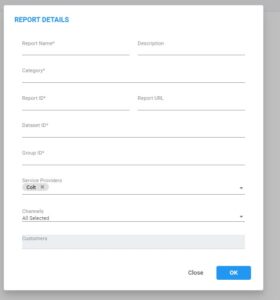
If the user has a PowerBI account associated can also integrate the reports any external reports by clicking on the top right button “Add”
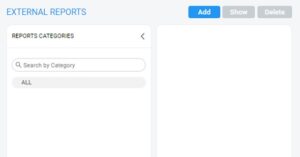
And give all the information of your report in the popup window
Calls
Find the list of calls here done in a period on time.
In this table it is displayed:
- Caller: user calling
- Callee: number called
- Date stamp: start and end time of the call
- Duration: the duration of the call ( minutes and seconds)
- Termination reason: Reason for the call to end ( normal, user busy, called number not assigned, invalid number format, call rejected ….)

Users
List of users configured in the platform.
On this page, you can use the top right blue boutons to:
![]()
Show: Get the details of the number assigned, contact details, and last calls done.
Edit Customer: by clicking on edit customer you will be redirected to a list with all your user (find more information in the “Configuration of users”)
Configuration of Users
On the Users tab and click on “Edit Direct Routing Customer”
A new tab will open with the list of users in your tenant
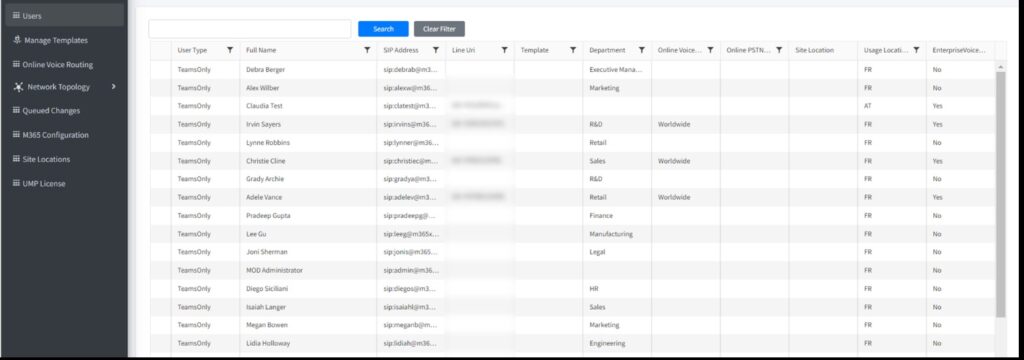
It will be possible to Assign phone numbers from this page
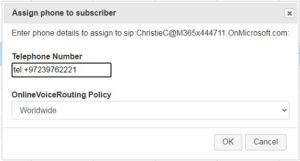
a. Managing individual users
Right-click on the user to be able to assign a phone number to the user.
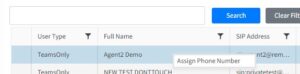
You can add or change the user phone number and the online voice routing policy.
b. Enabling users from file
To enable users to the service from file you need:
- To create a template
- To build the file of users
- To load the file from the Template page
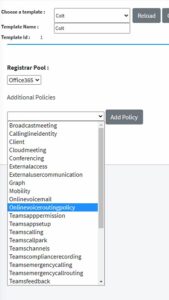
Create a Template:
- Go to Manage Template page and click create.
- Give the Template a name
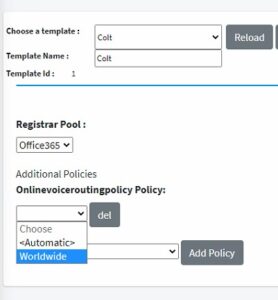
- Add policy and add the Onlinevoiceroutingpolicy
- choose the ´Worldwide´policy
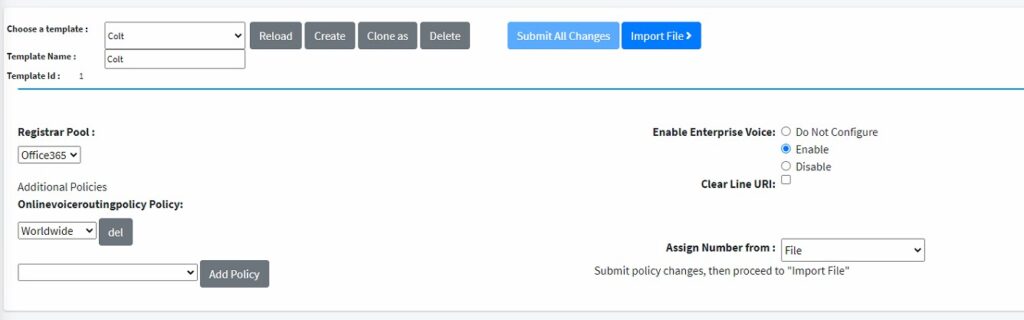
- Check the ‘Enable’ check box under Enable Enterprise Voice
- Under ‘Assign Number from’ choose from file
- Click on ‘Submit all Changes’ to save the Template
Build the file of users
The file should be csv file that have the following format:

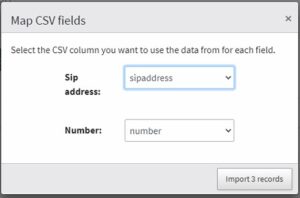
c. Load the file from the Template page
Click on ‘Import File’ and then ‘Import CSV’ and choose the file you created and Import.
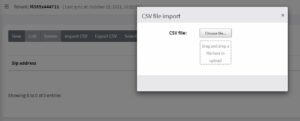
Make sure there are no errors
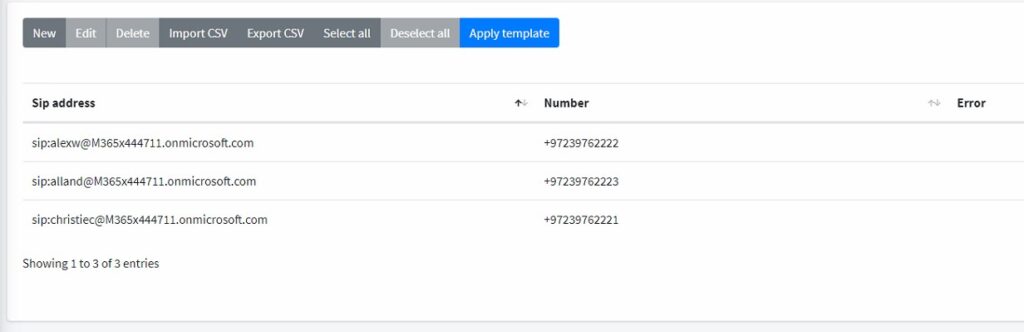
Click ‘Apply template’
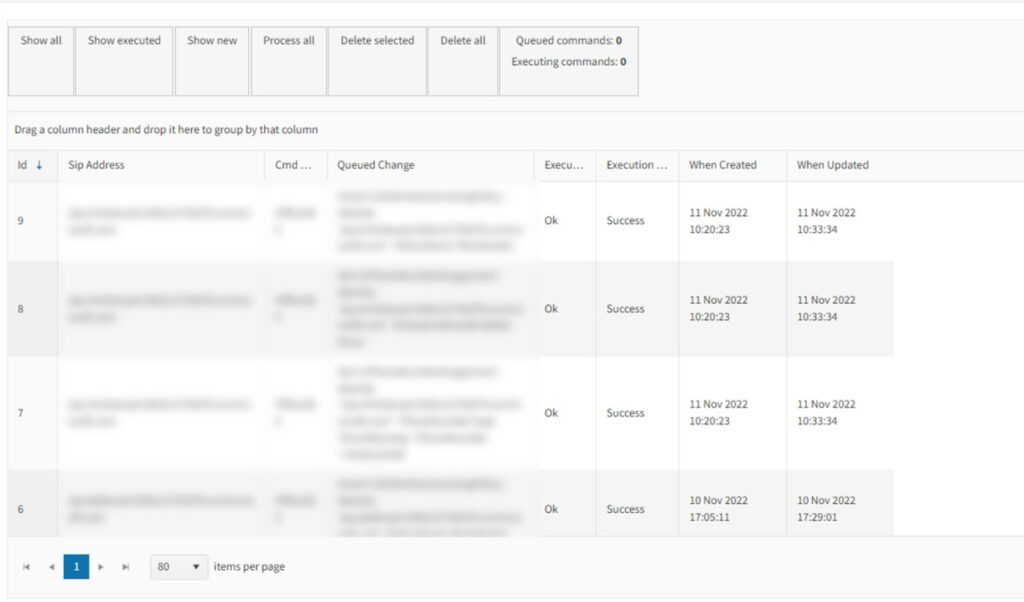
AUDIOCODES LIVE will insert the commands that need to be executed into a queue that can be shown under ‘Queued Changes’, it will show the changes and their status.
d. Log of Changes
All changes done to the user, regarding the assignment of numbers and voice policies are found in the Queue changes tab.
Useful to audit changes and to review if changes have been successful
Administration
To manage your account use the menu at the top right of the screen.
Click on the email and a menu will appear. Useful to change passwords and Logout.
