Introduction
Customer Control Panel
CIC License Portal for Customers
CIC License Portal Marketplace
User Management in CIC License Portal for Customers
Create staff member logins
Edit staff member logins
Buying a Service
Upsizing and downsizing a subscription
Disable Automatic renewal of subscriptions
Cancel existing subscriptions
Support
Discover more:
Login to Colt Online
Register for an account
Introduction
The Colt’s CIC License platform guide focuses on the specific features of Commerce web-based interface for end customers.
Customer Control Panel
Customer Control Panel is where the customer can have an overview of their own licenses and users. You can log into your Customer’s Control Panel to view and manage your Subscriptions/Licenses. To log in to customer panel, you must enter the login name and the password given to you by your Provider.
CIC License Portal for Customers
CIC License Portal for Customers is a new customer control panel that will enable you to effectively manage your Microsoft licenses on Partner Centre including features like:
- Purchase new licenses
- Upgrade or downgrade your current licenses
- Access to license inventory with Colt
- Administer portal users
CIC License Portal Marketplace
CIC License Portal Marketplace is an eCommerce solution that delivers outstanding buying and user experience.
User Management in CIC License Portal for Customers
CIC License Portal for Customers allows you to manage the users of your own account and perform the following actions:
- View the list of all users of your account.
- Monitor your users' status.
- Add new users (one or more at once).
- Assign a role to a user (User or Admin).
- Define a user's email address for signing into the system and receiving notifications. You can define up to two different email addresses: one for signing into the system, the second one for receiving notifications about the account and system updates.
- Assign and reassign services to new users.
- Send an activation email to users. If you choose to send an activation email, then a user will get an invitation email and their status will be "Not Activated" until activation by following the activation instructions in the email. If you select not to send an activation email, then a user will not get an invitation email and will have the "Ready" status as soon as the user is created.
- Edit a user's information, including the postal address.
- Change a user's password.
- View login history.
- Log in as a user to the CIC License Portal.
- Delete a user.
- Enable or disable a user.
- Activate a user or resend an activation email.
A user can be in one of the following statuses:
- Ready: a user is successfully created and activated.
- Locked: a user has exceeded the amount of allowed login attempts and is locked out.
- Not Activated: a user has not completed the activation. The email with activation link has been sent to the user and expires in 48 hours.
- Disabled: a user is disabled and cannot log in to the CCP or use any of the assigned services.
Create staff member logins
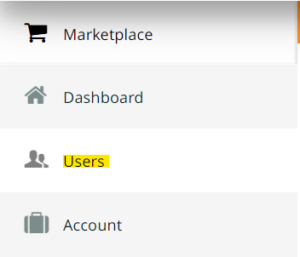
To create staff member logins, first login as administrator to the CIC License Portal and follow these steps:
a) Click the “Users” link in the navigation pane on the left
b) Click ADD NEW USERS
c) Fill in the first name, last name and e-mail information.
For the permissions you can choose:
- “Allow user to manage assigned services only” to assign only service user rights. This means that the user can only retrieve a license and can make use of this license (not an admin).
- “Assign staff member roles to user” to make the user an admin which is able to assign licenses to colleagues
Check the box for “Send activation email” to send an activation e-mail
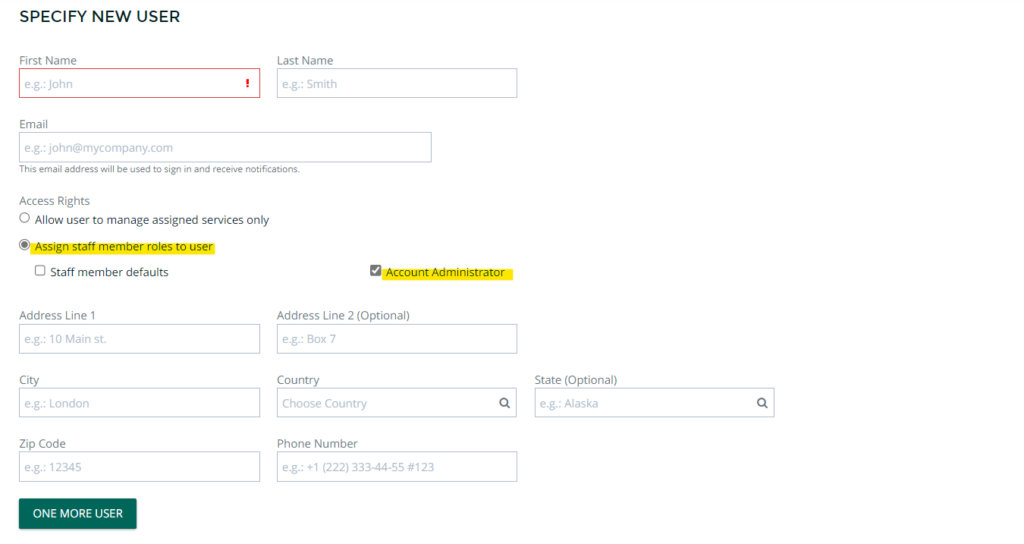
d) Click “Finish” to create the user
Edit staff member logins
To manage existing staff member logins, login to the CIC License Portal and follow these steps:
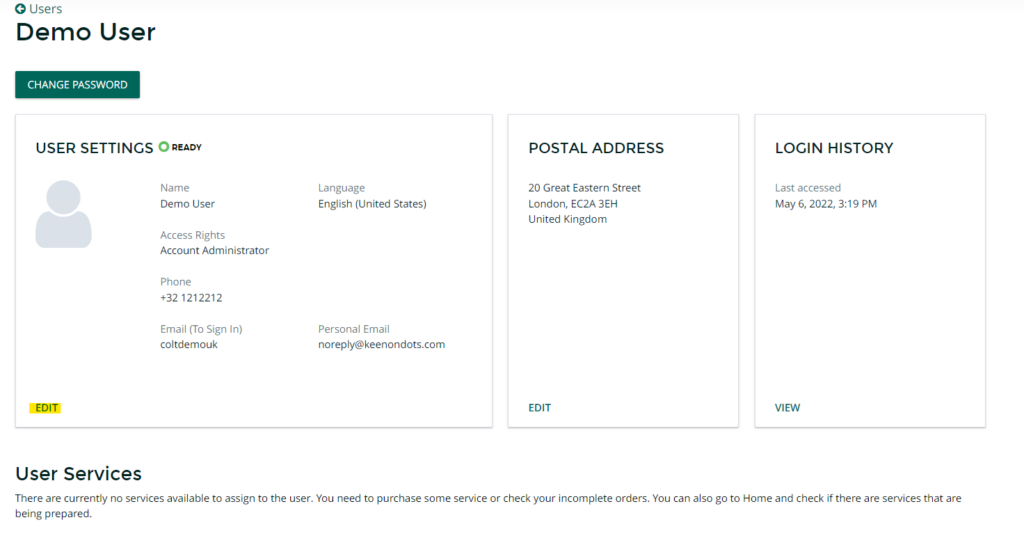
- Open the “Users” tab
- Open the user you would like to manage by selecting the user
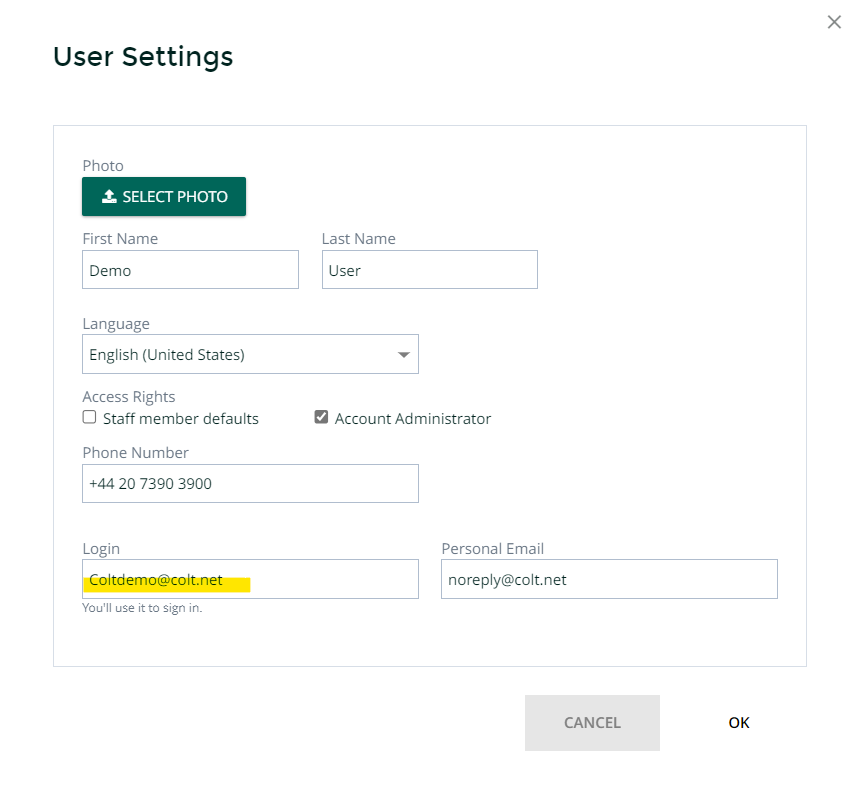
- Click on “Edit”
- Adjust the “Login” field to change the username which will be used to login to the CIC License Portal for Customers portal
Buying a Service
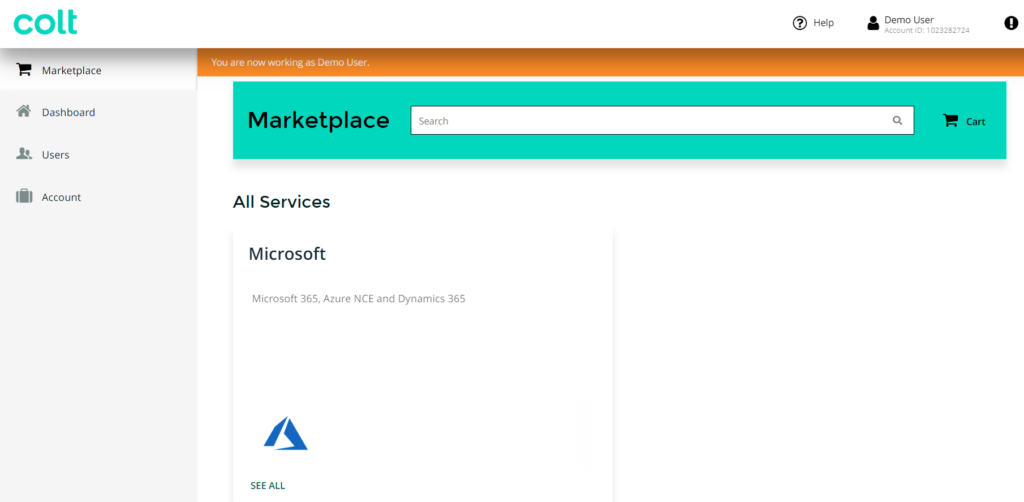
Let’s see how to purchase services from your Control Panel, such as one of the most popular apps among customers, Microsoft Office 365. The steps for purchasing other services or apps might slightly differ.
- Log in to the Control Panel.
- Click the Marketplace link in the navigation pane on the left.
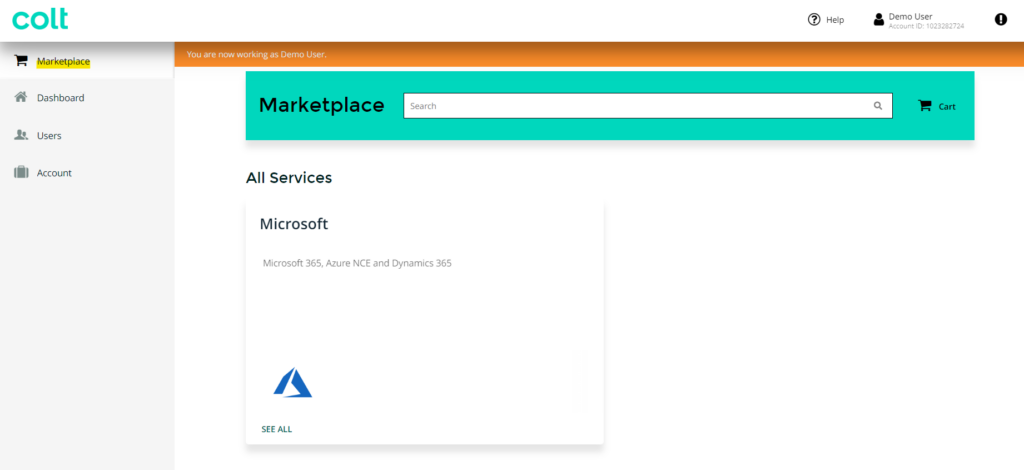
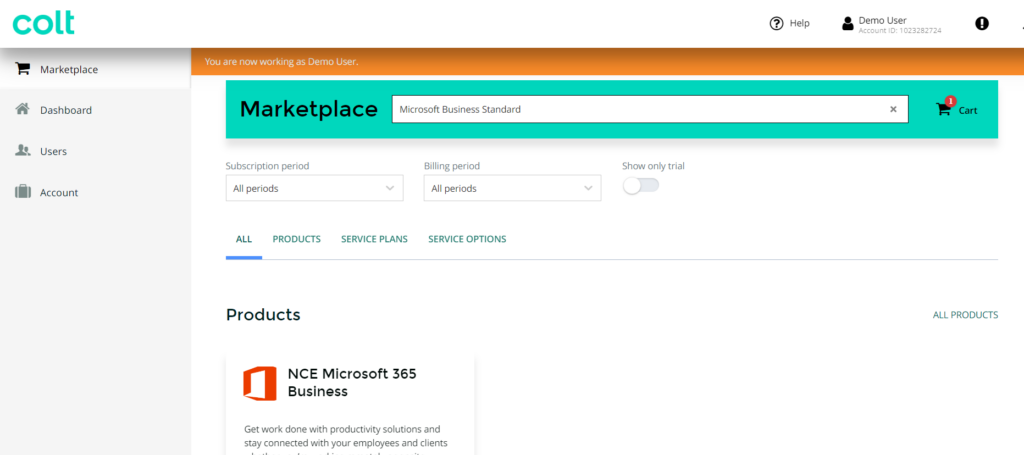
- Search for an app or service by using the search bar or browse all apps under All Services.
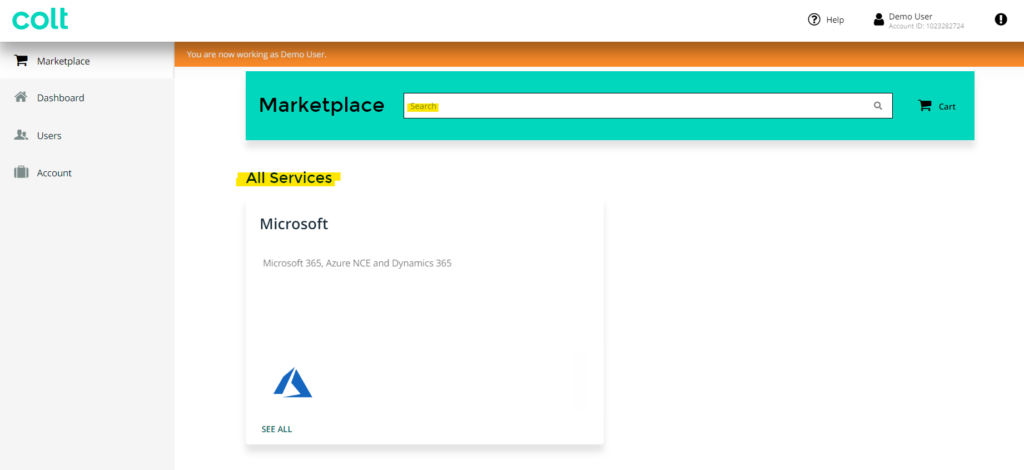
- You can also select the products by searching with product names in marketplace.
![]()
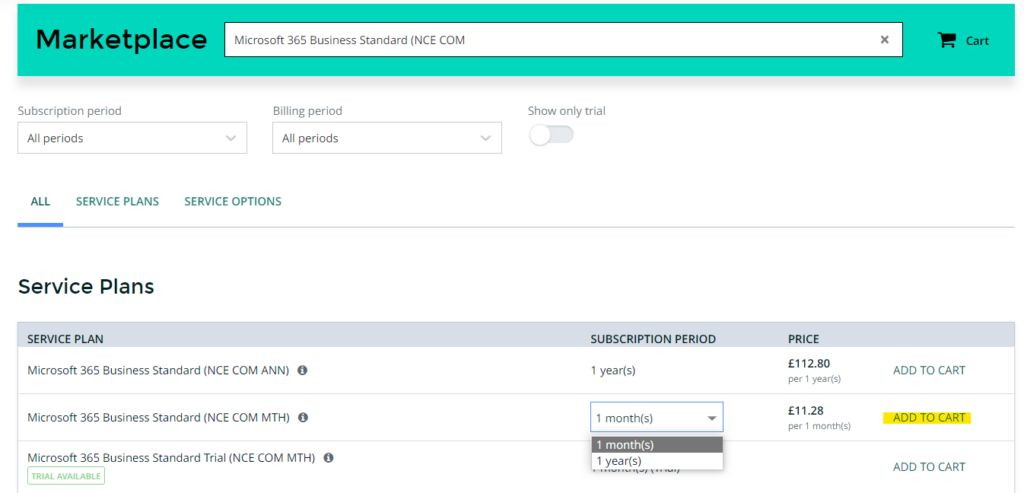
5. Add the product to cart by clicking on ADD TO CART.
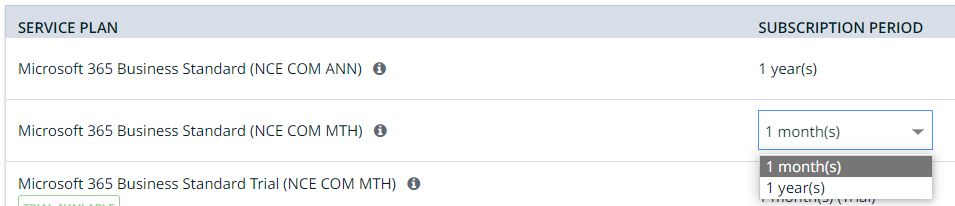
Note: For NCE Microsoft 365 products, you have 3 options to select for each product.
a) Annual billing period with Annual subscription period.

b) Monthly billing period has 2 options to select from. You can either select a monthly billed product with monthly commitment (subscription period) or monthly billed product with 1 Year commitment (subscription period)
6. When ready to complete your purchase, click the shopping cart.
7. Select the options that you want and click NEXT.
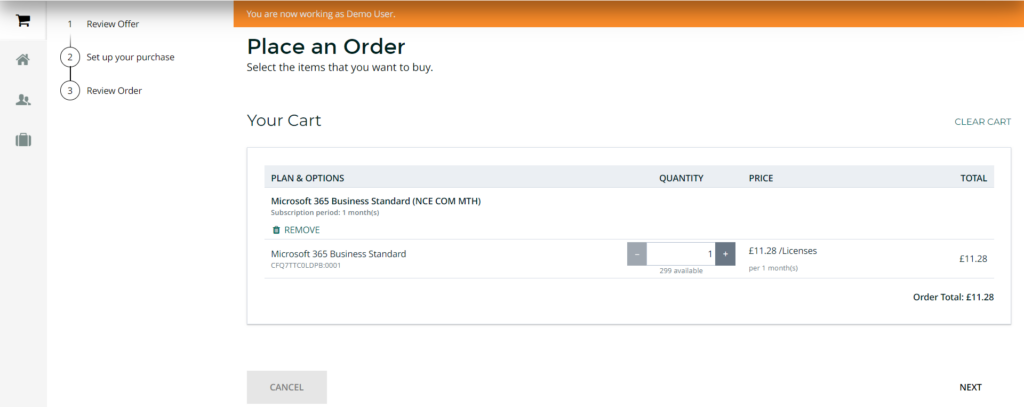
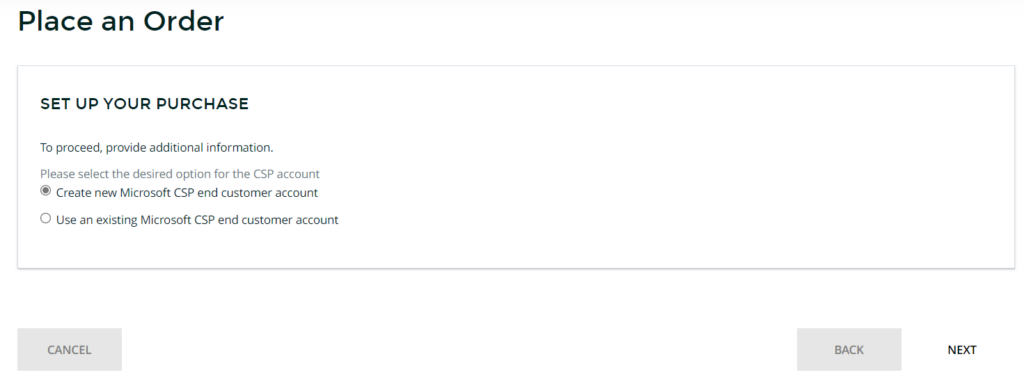
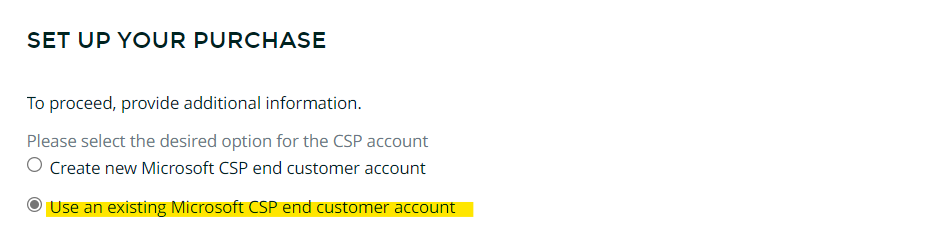
9. If you are purchasing a Microsoft product or service for the first time and you do not have a Microsoft Online account yet, select the option Create new Microsoft CSP end customer account and click NEXT.
10. Specify Microsoft domain name (also referred to as a tenant name) that you will use with Microsoft services. Also select the special qualifications and click NEXT
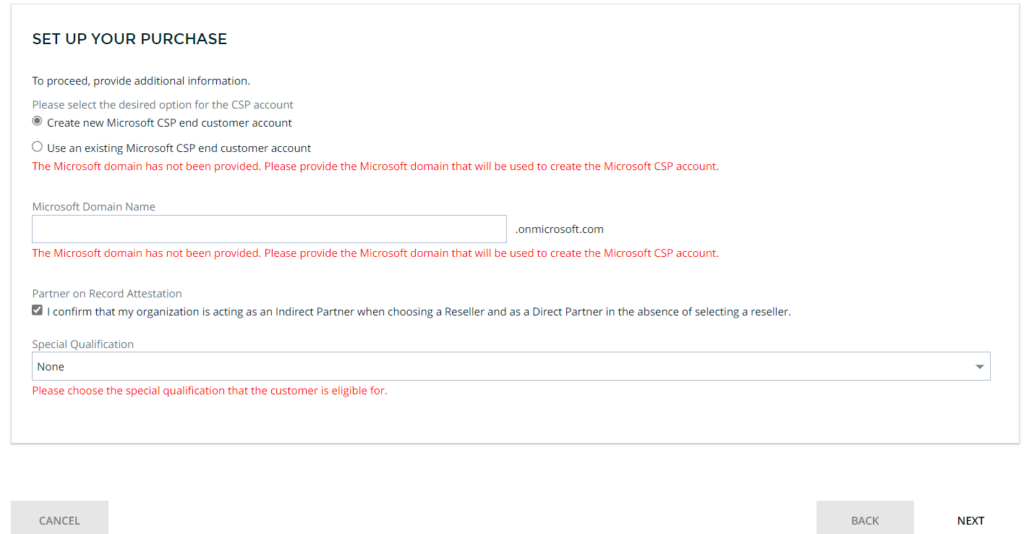
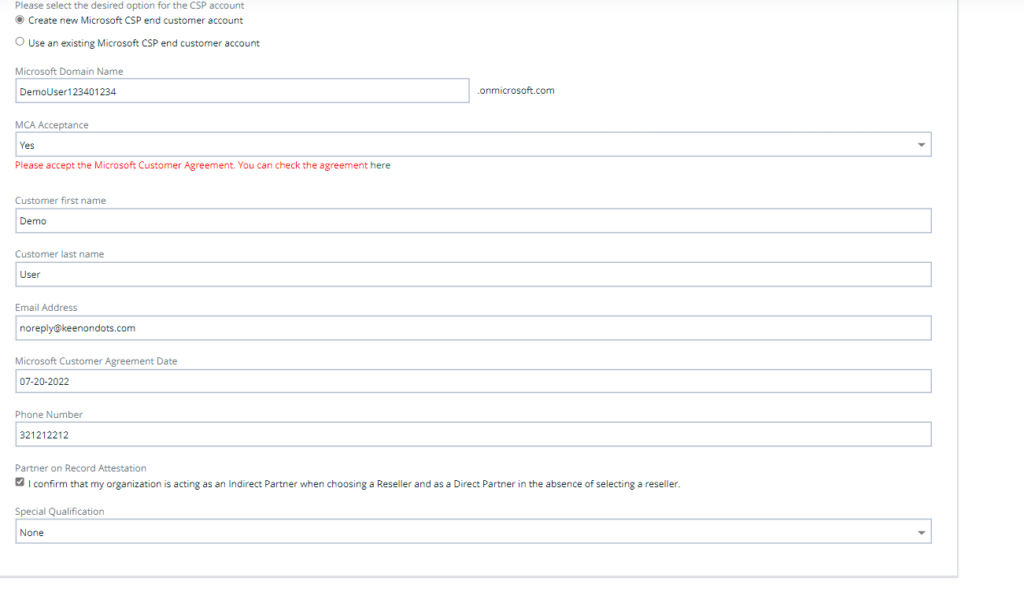
Fill the requested details and click NEXT
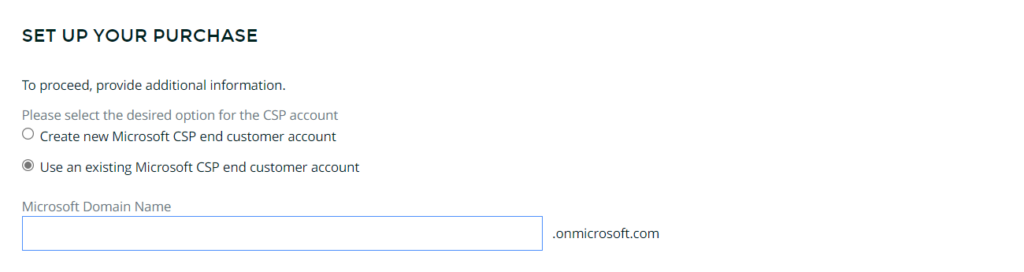
If you are purchasing a Microsoft product or service and if have a Microsoft account/tenant, select the option Use an existing Microsoft CSP end customer account and specify the subdomain name (also referred to as a tenant name). Click NEXT.
Specify your existing Microsoft tenant domain name (.onmicrosoft.com domain name) and click NEXT
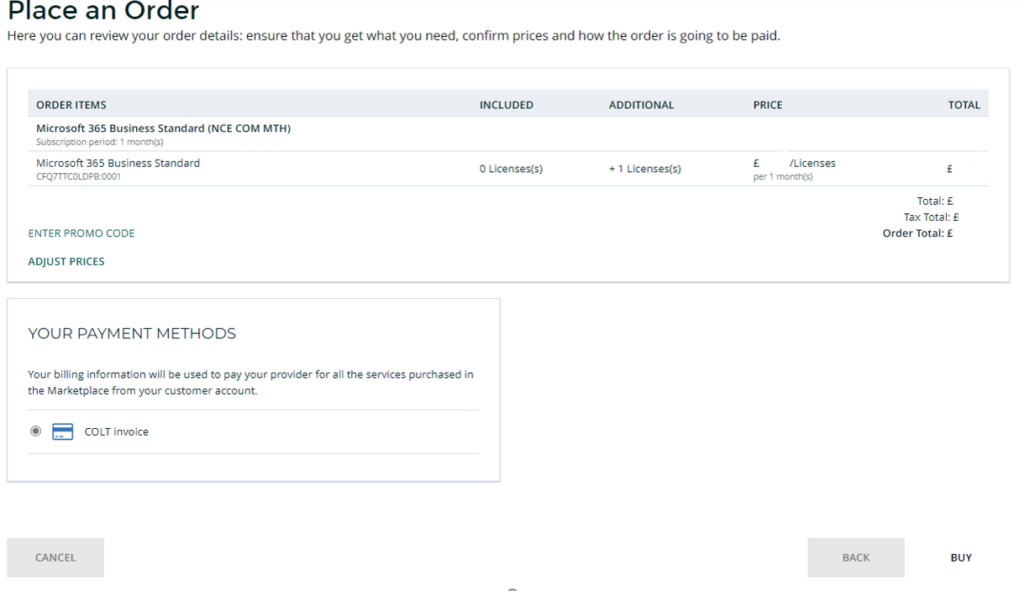
Select the payment method that you want to use and click BUY.
To view the status of your order, click TRACK ORDER.
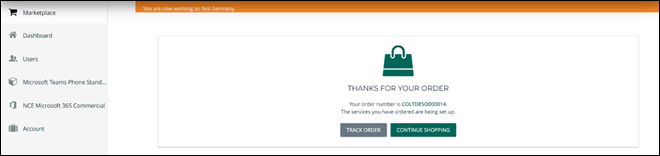
It might take a few minutes to complete your order. At this moment, you can log out of your control panel.
When your service is provisioned and ready for use, you will receive notifications by email. Log in to your control panel again.
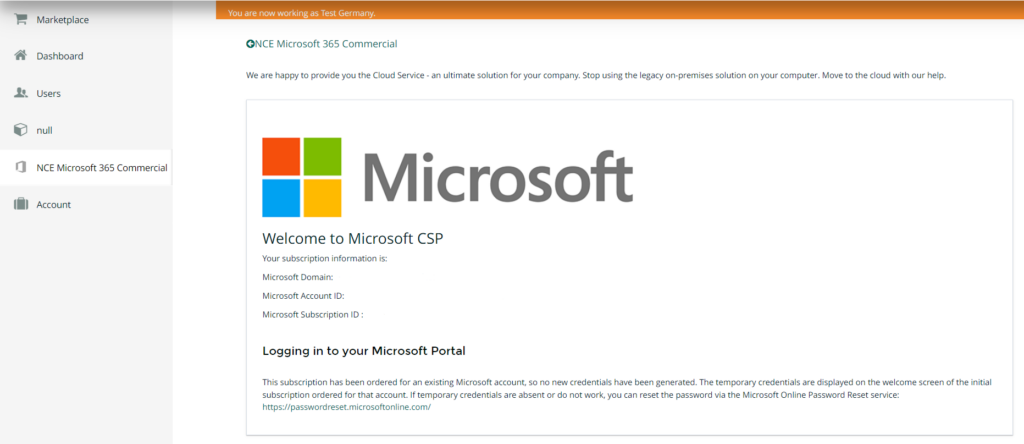
For each service that you purchase, there is a link in the left navigation pane and on the Dashboard. To start using the service, click the link in the navigation pane or the tile on the Dashboard.
Upsizing and downsizing a subscription
- Log in to the Control Panel.
- Click the Account link in the navigation pane on the left.
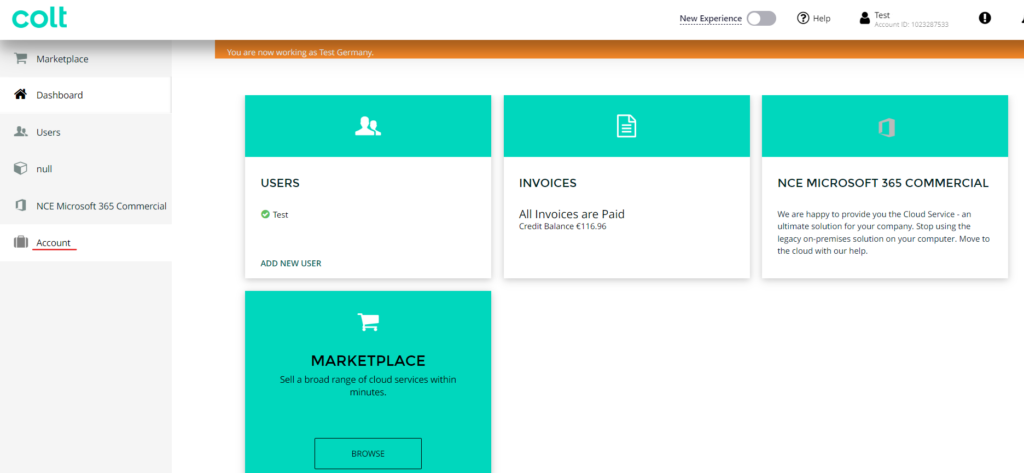
3. Click Subscriptions.

4. Click the subscription name.

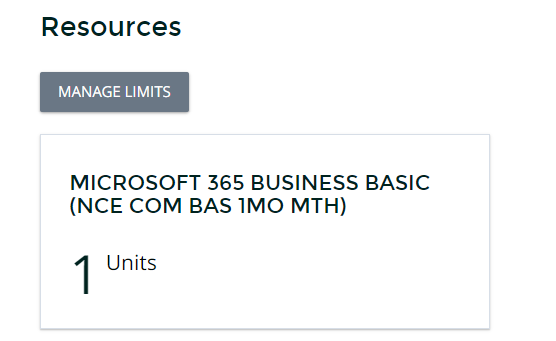
5. Click CHANGE RESOURCE LIMITS.
6. Adjust the number of licenses and click OK.

7. Select the payment method that you want to use and click CONFIRM.
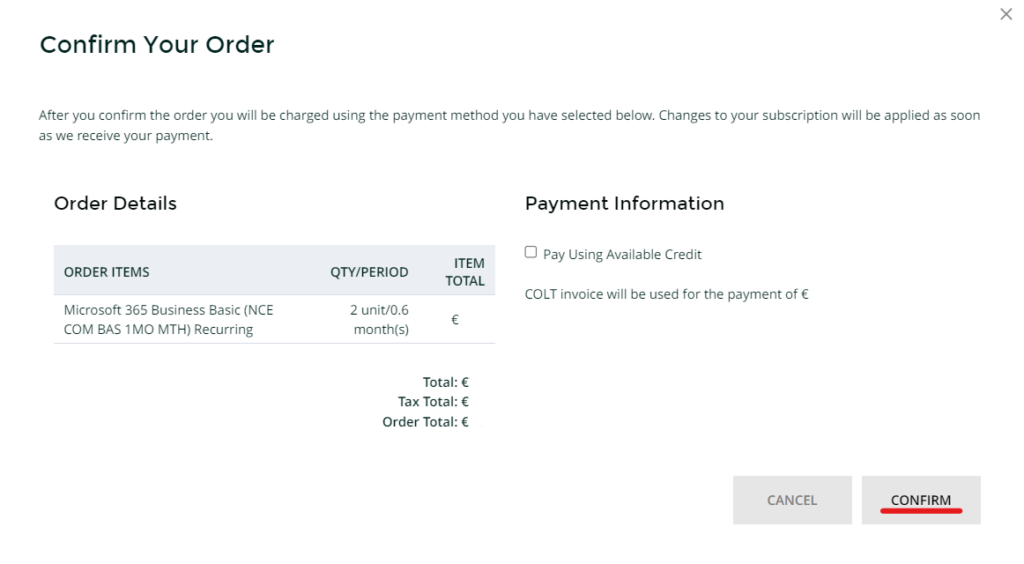
Wait until the order is processed by your provider.
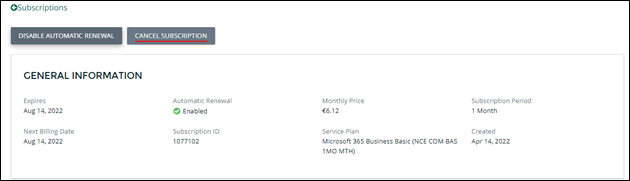
Disable Automatic renewal of subscriptions
By default, all the subscriptions are set to auto renew after the current subscription period. If you do not wish to renew an existing subscription, please follow below steps.
1. Log in to the Control Panel.
2. Click the Account link in the navigation pane on the left.
3. Click Subscriptions > Click the subscription name.

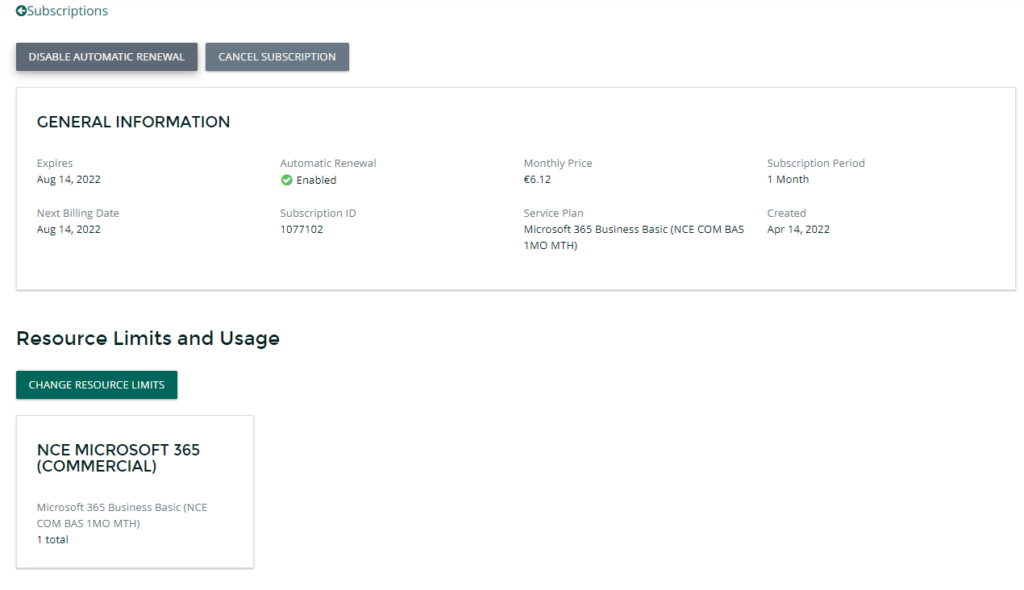
4. Click DISABLE AUTOMATIC RENEWAL.
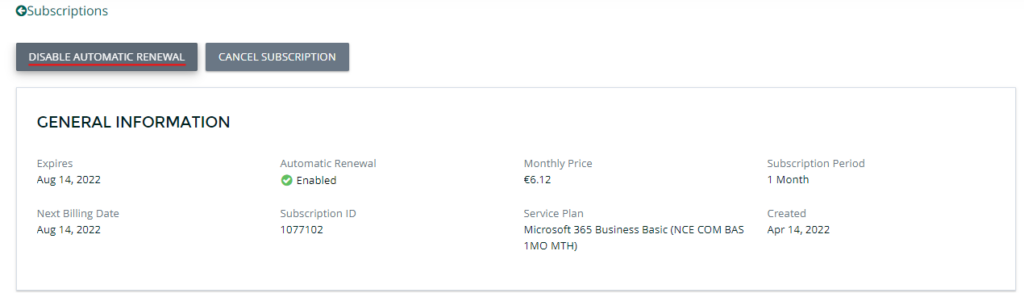
Subscription renewal status is now disabled and it will expire after the current subscription period.
Cancel existing subscriptions
To cancel a subscription during its subscription period, please follow below steps.
Please note that the cancellation policy of each product is applied while cancellation requests are processed. For example, NCE Microsoft 365 do not allow any cancellation after 7 days of purchase/renewal of subscriptions which means if you cancel the subscription after 7 days of purchase, you’ll still keep the license and be billed for the entire license subscription period agreed while purchasing the license.
1. Log in to the Control Panel.
2. Click the Account link in the navigation pane on the left.
3. Click Subscriptions > Click the subscription name.

4. Click CANCEL SUBSCRIPTION