Colt UC Live Portal
Registration Guide
Home > Order Management > CIC – UC Live Portal – Registration Guide
Introduction
You can now access a suite of reports which enable you to keep track of usage across Cloud SBC.
There are a large number of reports including:
- Call quality
- Call statistics
- Successful/unsuccessful calls
The Live Platform will use application registration to Microsoft 365 (M365) tenant without needing users to sign in.
Registration: Process and Requirements
You receive an email link similar to the following:
Click on the green boutton " Click here to activate tenant"
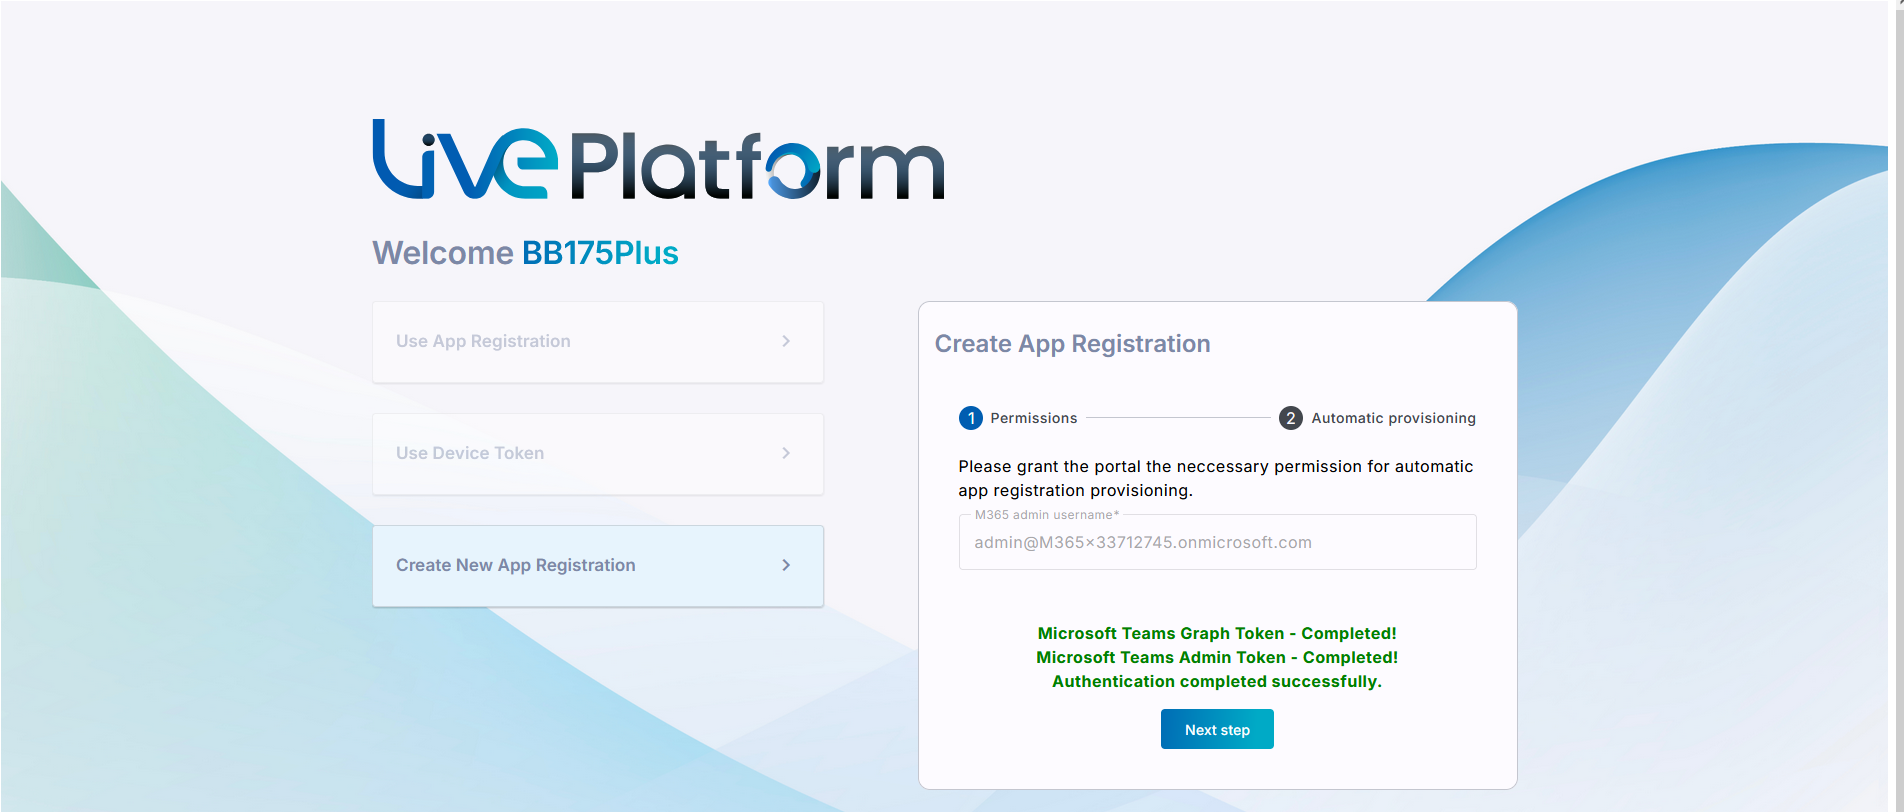
After clicking on the the Invitation email, cutomer will go to this page
- Using the personalize link this page will popup
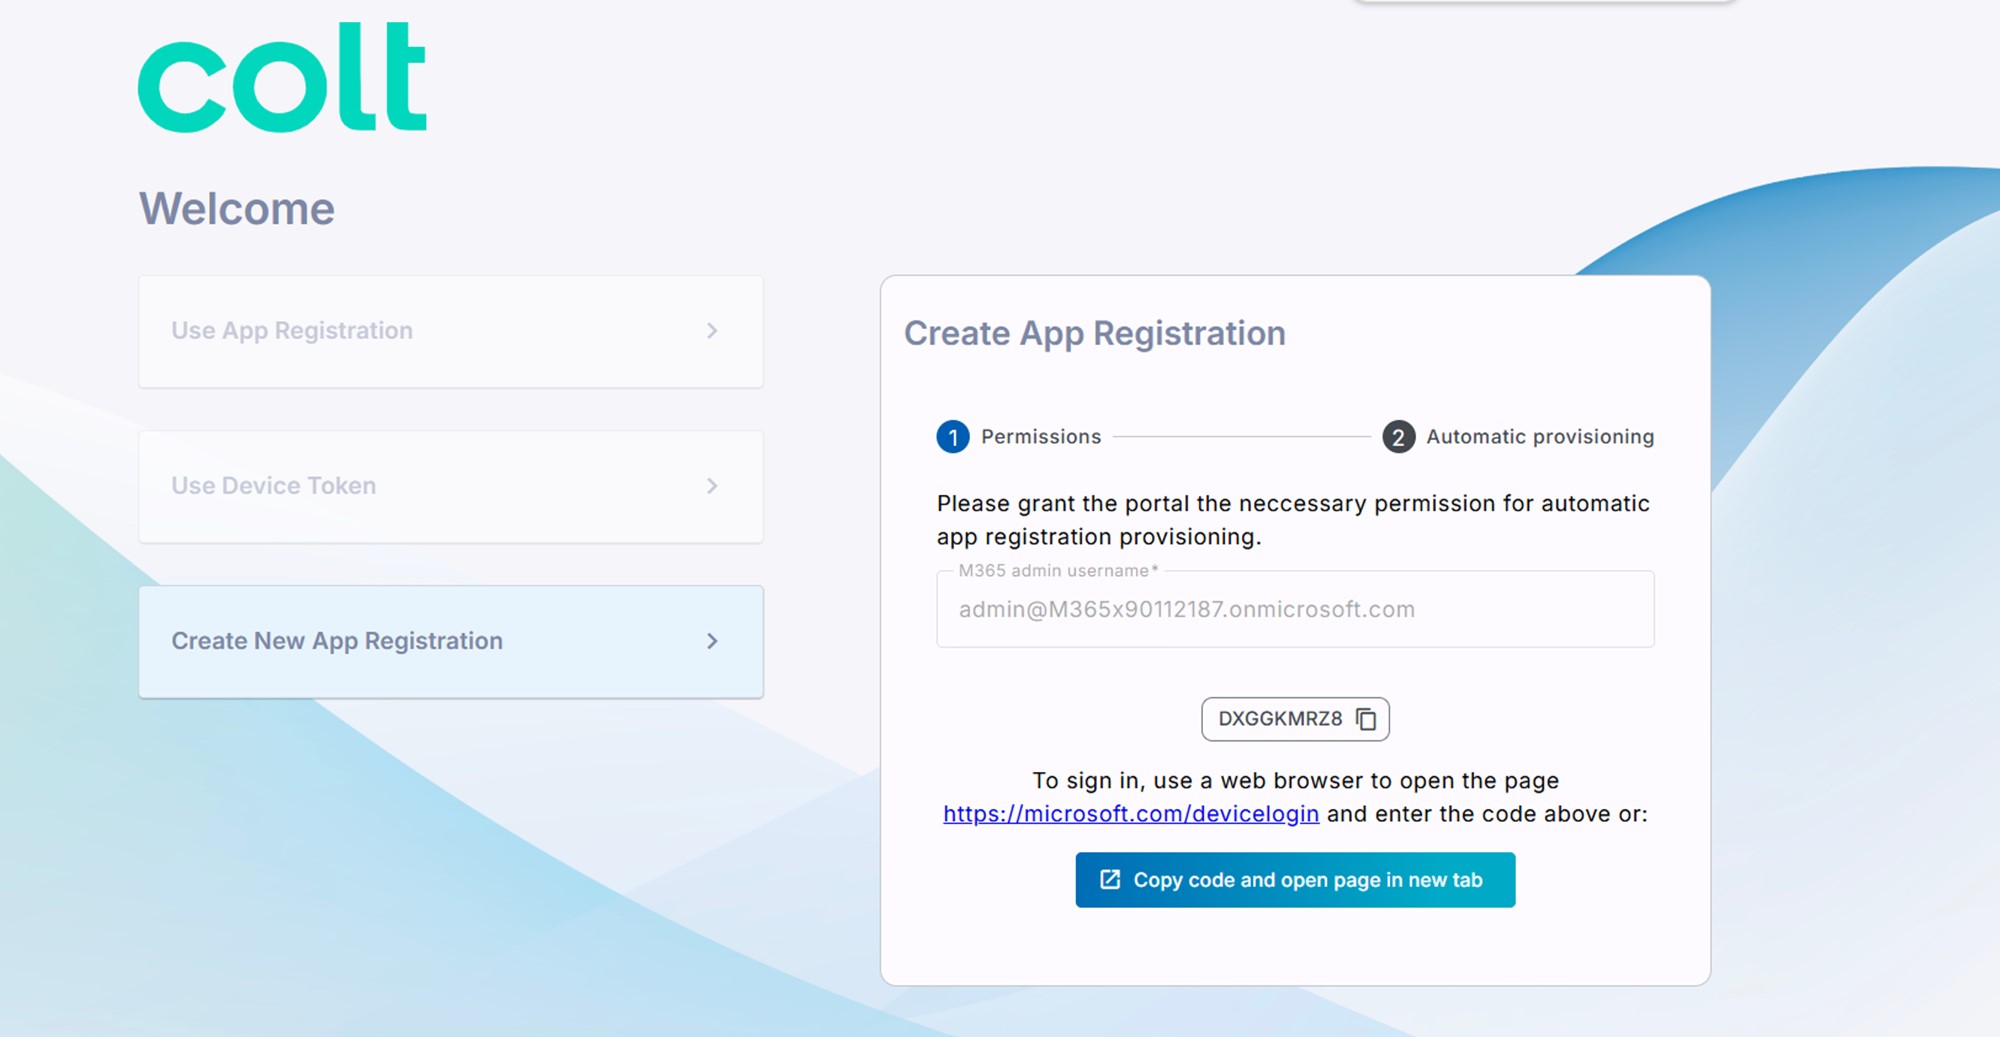
2. Click Create New App Registration.
Enter your Microsoft 365 admin username (User Principal Name - UPN)Make sure this account has Application Administrator permissions.
3. Choose one of the following options to continue authentication:
-
- Option A: Copy the code shown on screen, then click the URL below it to open the sign-in page.
- Option B: Click Copy Code and Open Page in New Tab to automatically copy the code and open the sign-in page in a new browser tab.

4. Click Next or enter code if you clicked the ....device/login link above.

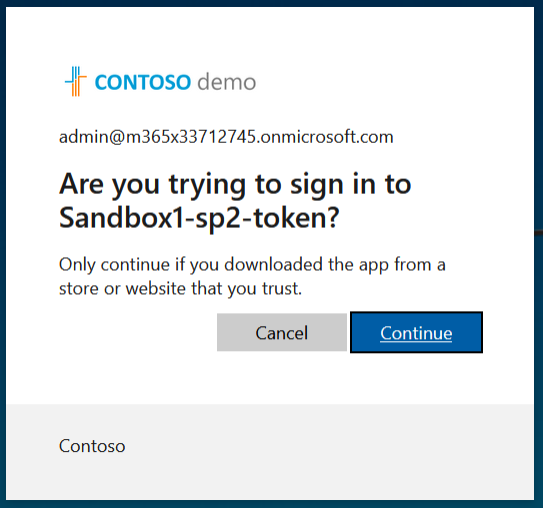
5. Sign in using your Microsoft 365 tenant admin credentials.
6. Click Continue to proceed.
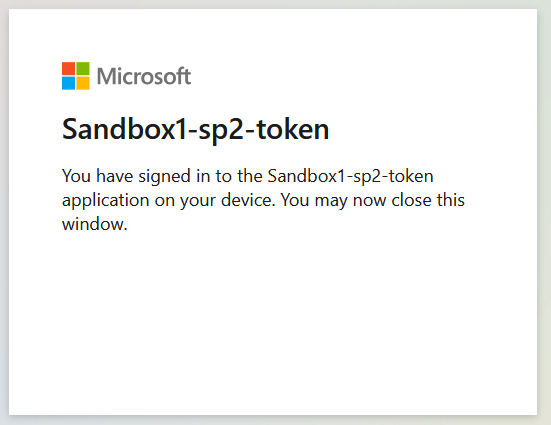
7. Close the dialog box.
A confirmation message will appear indicating that the connection was successfully established
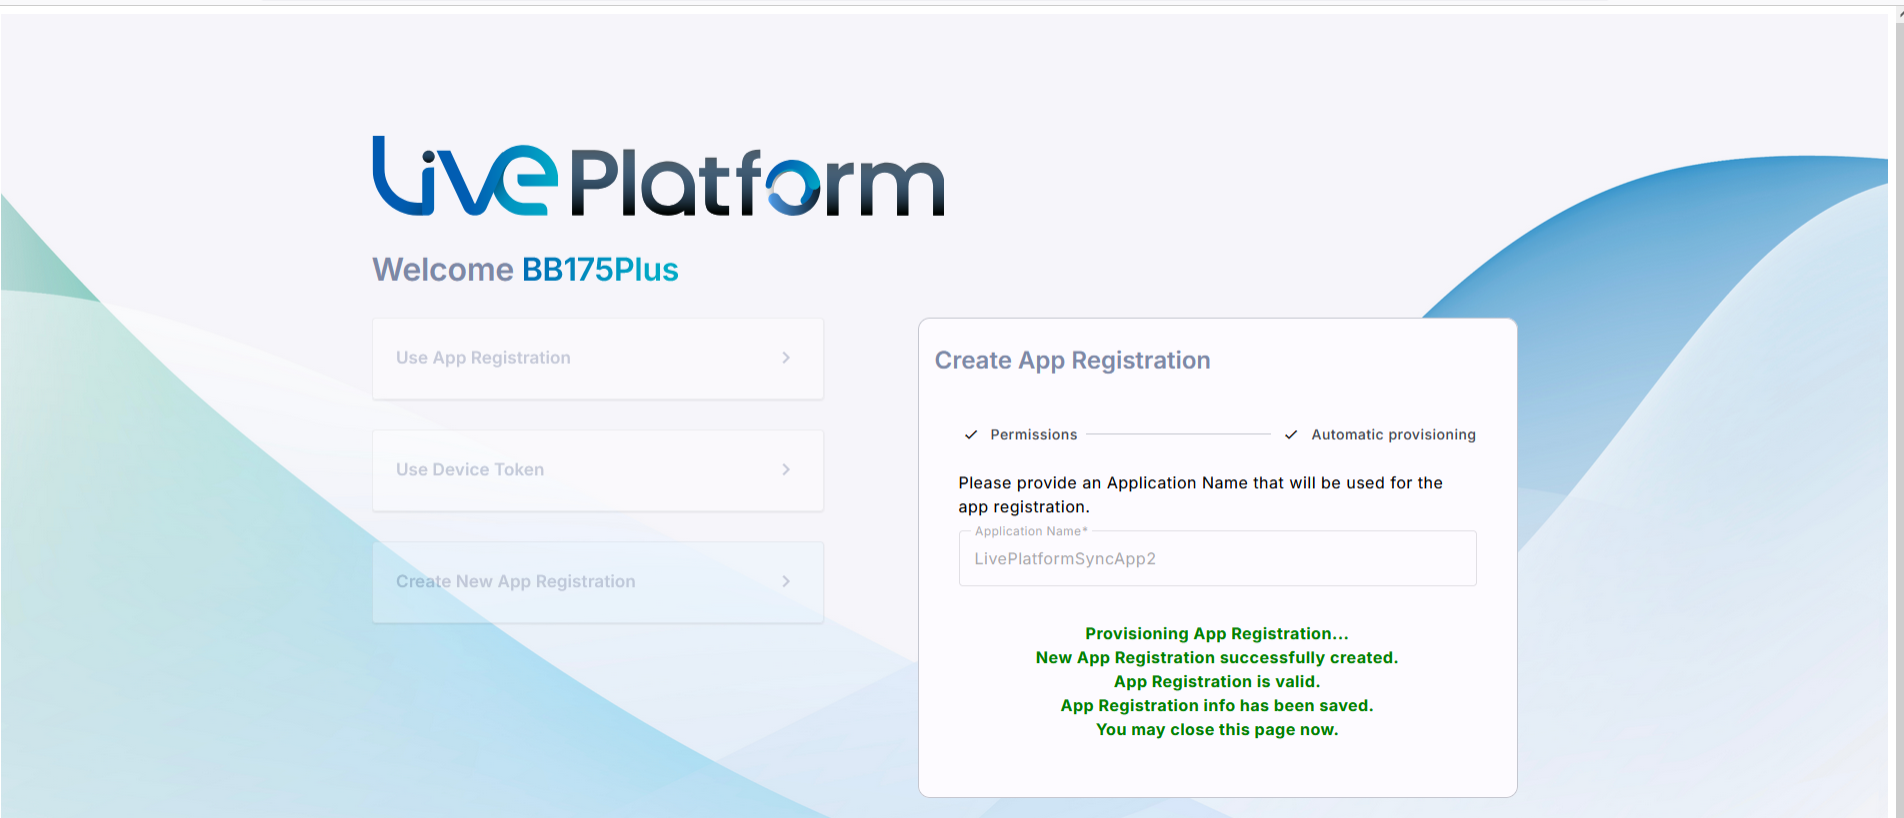
8. Enter a name for the Application Registration.
Make sure the name follows these rules:
-
- Must be 3–15 characters long.
- Cannot include the following characters:
\ / : * ? " < > | audit - Can contain letters (A–Z, a–z), numbers, and special characters (except
.and spaces). - Must be unique per service.


9. Confirm the on boarding to the UC Delivery team
10.Navigate to Microsoft 365 Settings
Go to Configuration > M365 Configuration.
- You’ll see:
- Client Secret Days Until Expire (if this is the first time it's set).
- User Name field filled with the M365 admin who authenticated the registration.
- Click Validate Authentication to confirm the tenant service credentials with the App Registration.
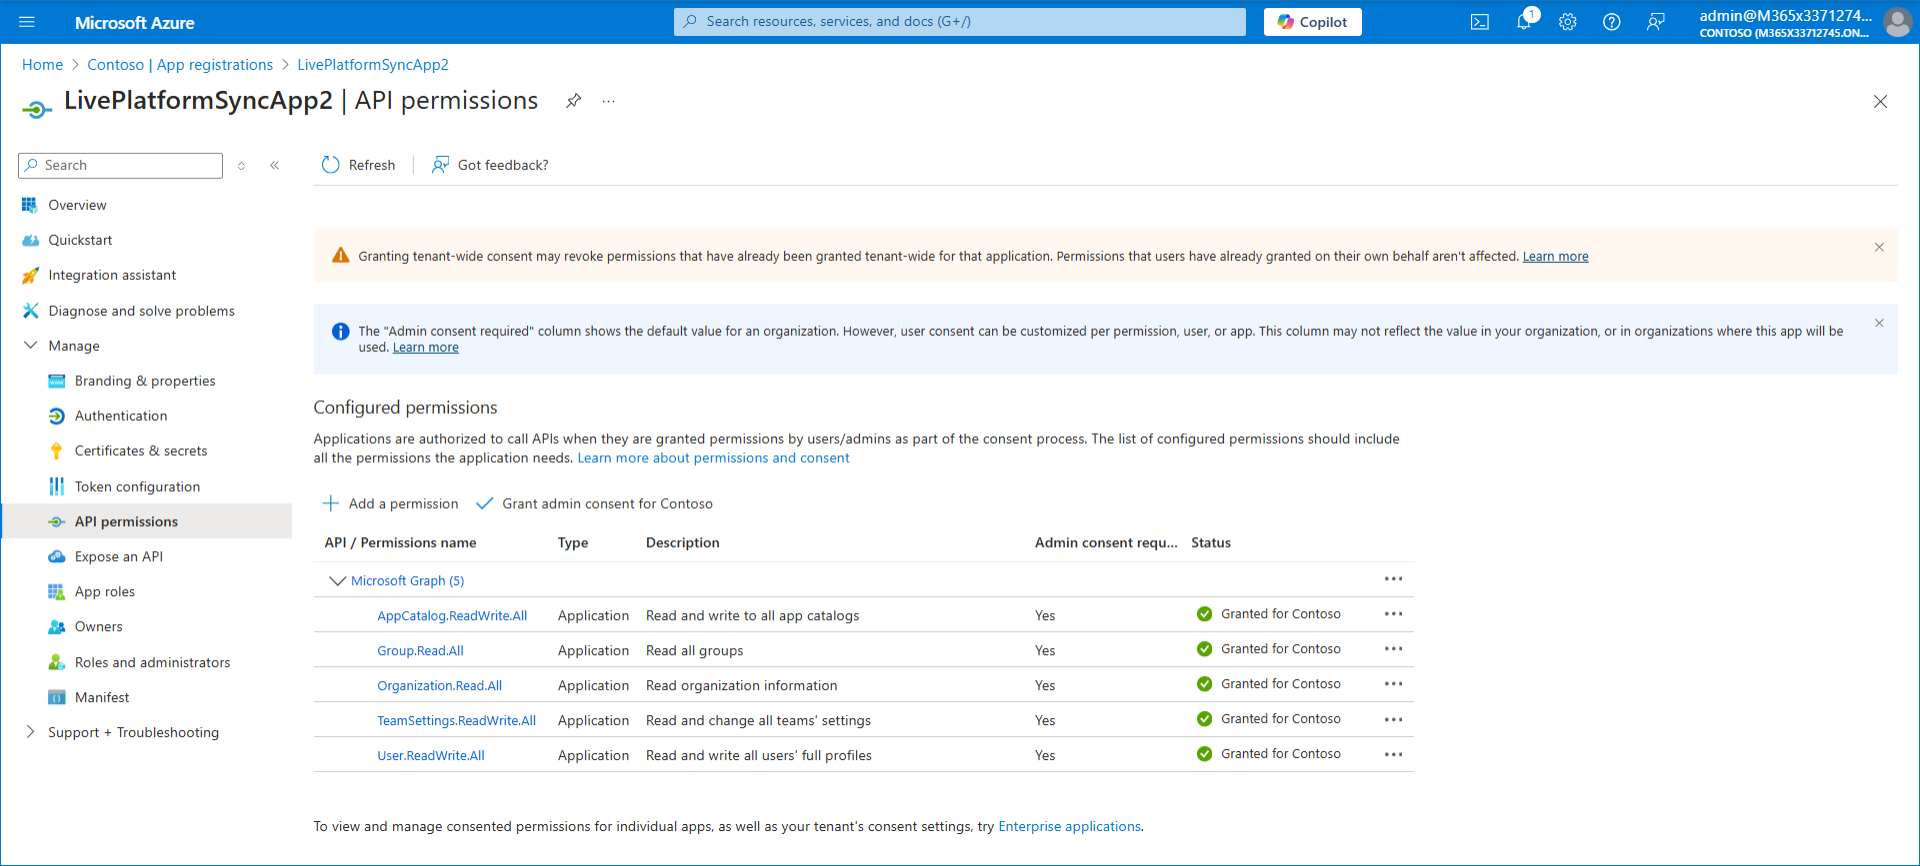
To add the Application registration to your M365 tenant it is required:
- Adding Client secret
- Associating Microsoft Entra Roles to the application according to table described in Secure Connection using Application Registration
| To create the new registration: |
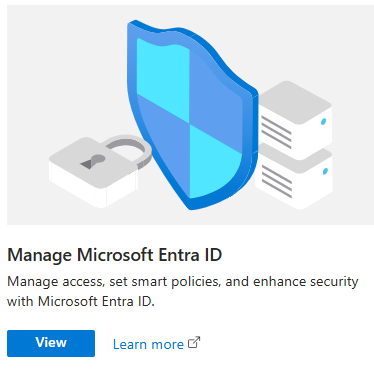
| 1. | Login to the Azure portal (portal.azure) with global Admin credentials for the M365 tenant. |
| 2. | Click View to the Microsoft Entra ID interface. |
| 3. | In the Navigation panel, select
Manage > App registrations and then click New registration. |

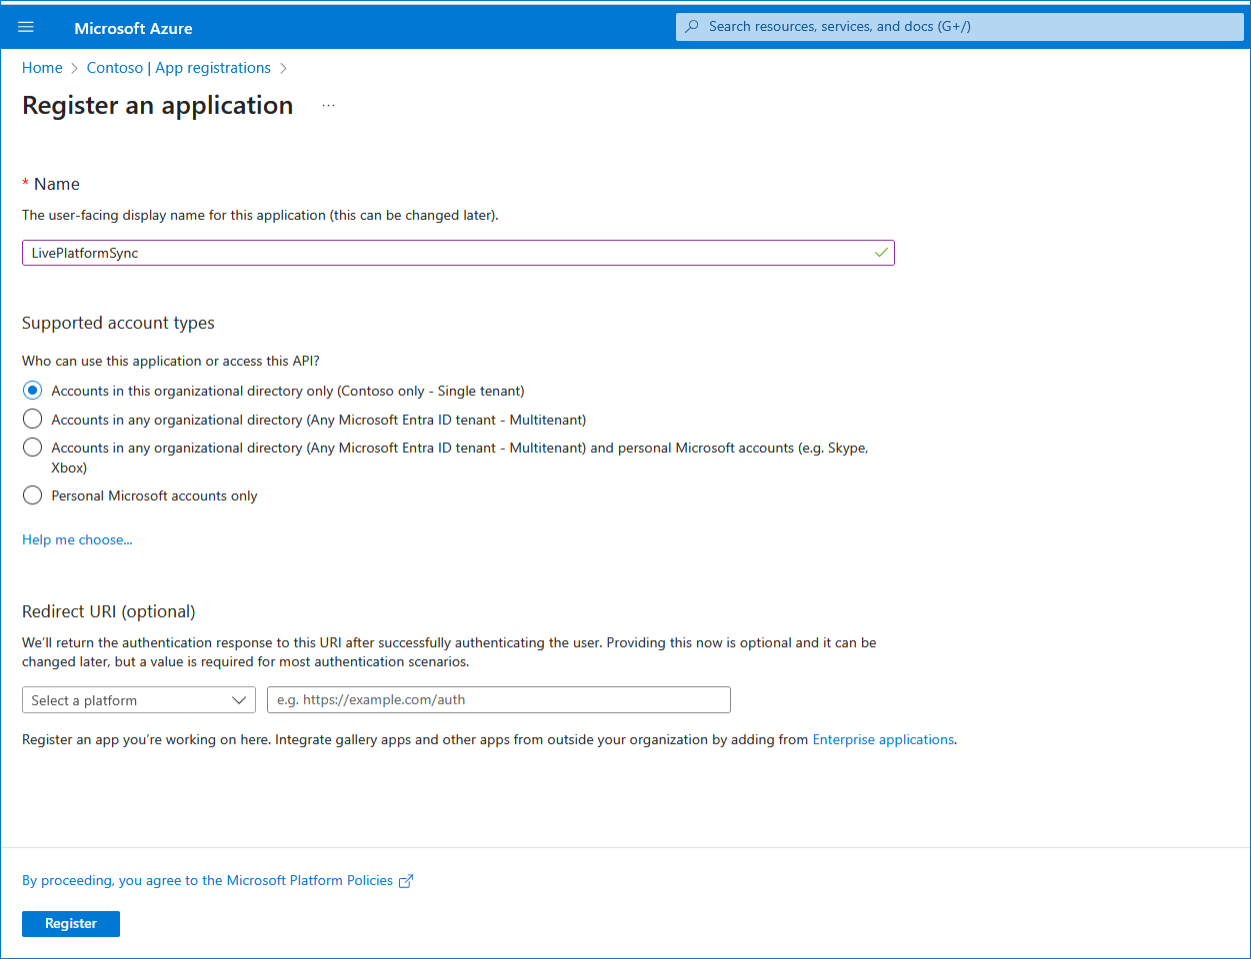
| 4. | Enter the name of the application. |
| 5. | Select Accounts in this organizational directory only |
| 6. | Click Register. |
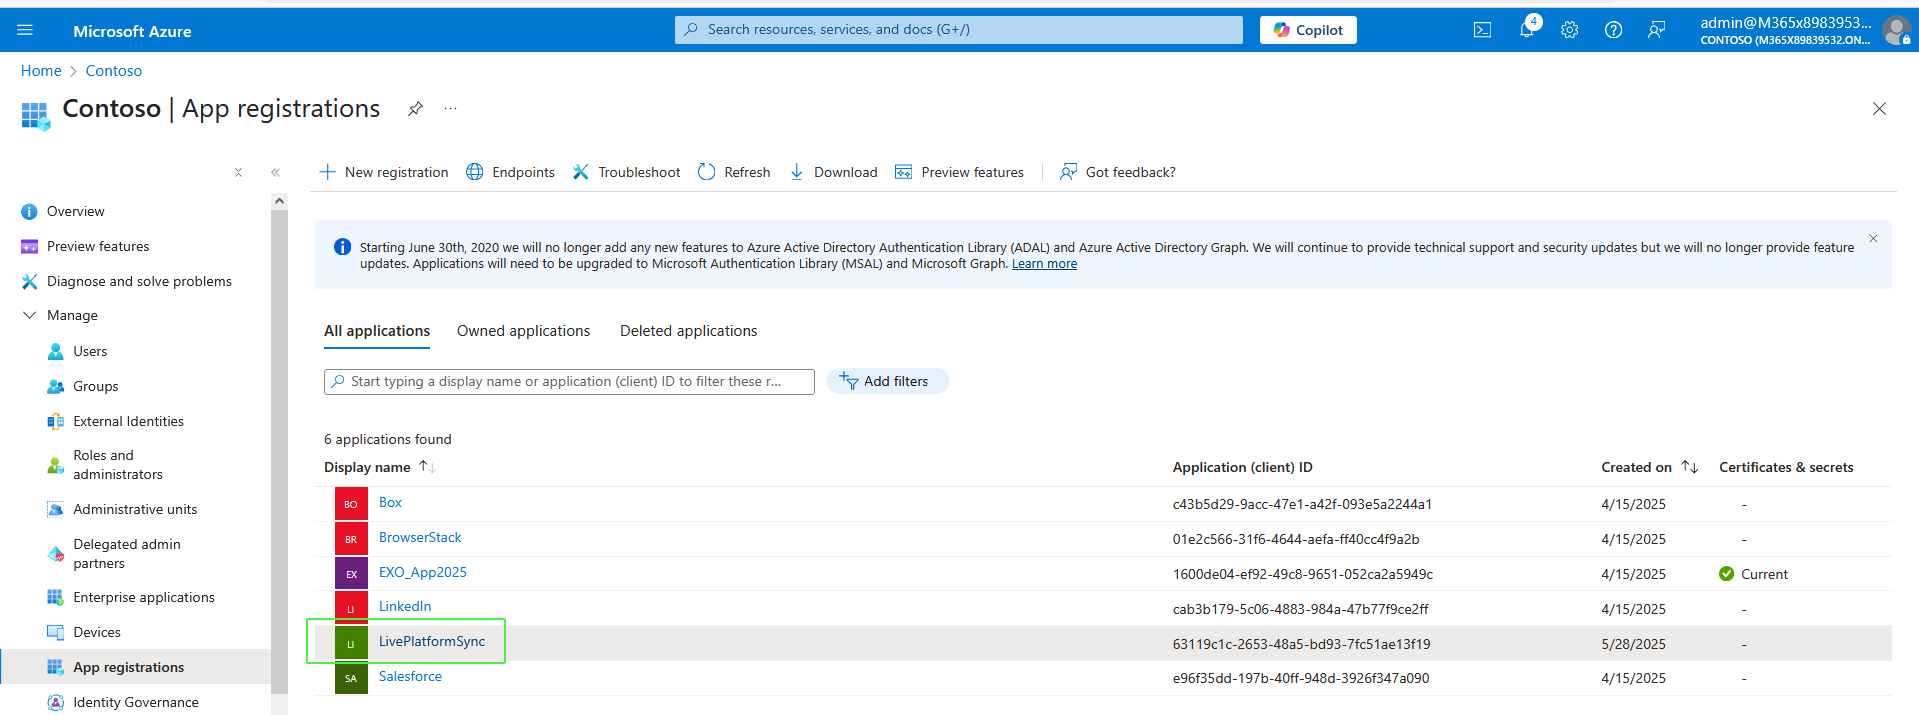
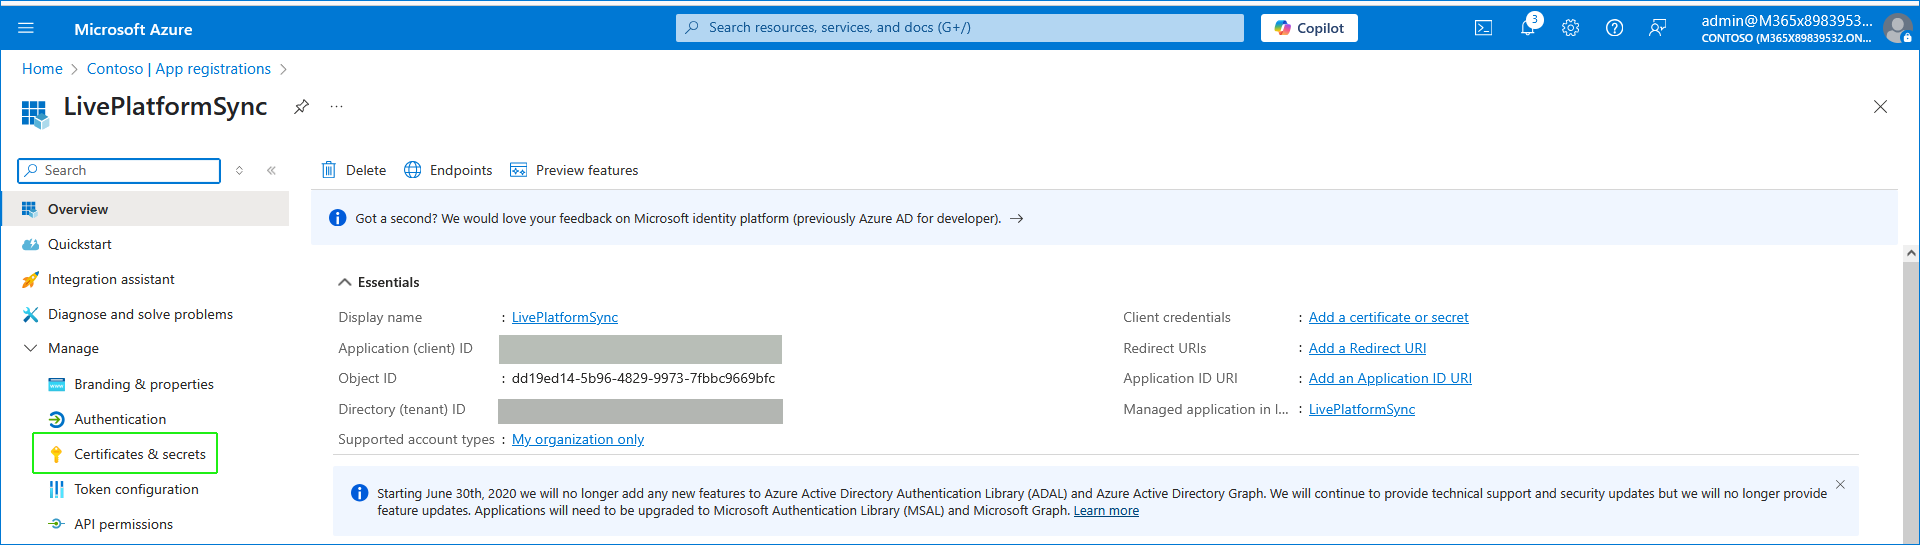
| 7. | Click to open the Overview page for the new registration. |
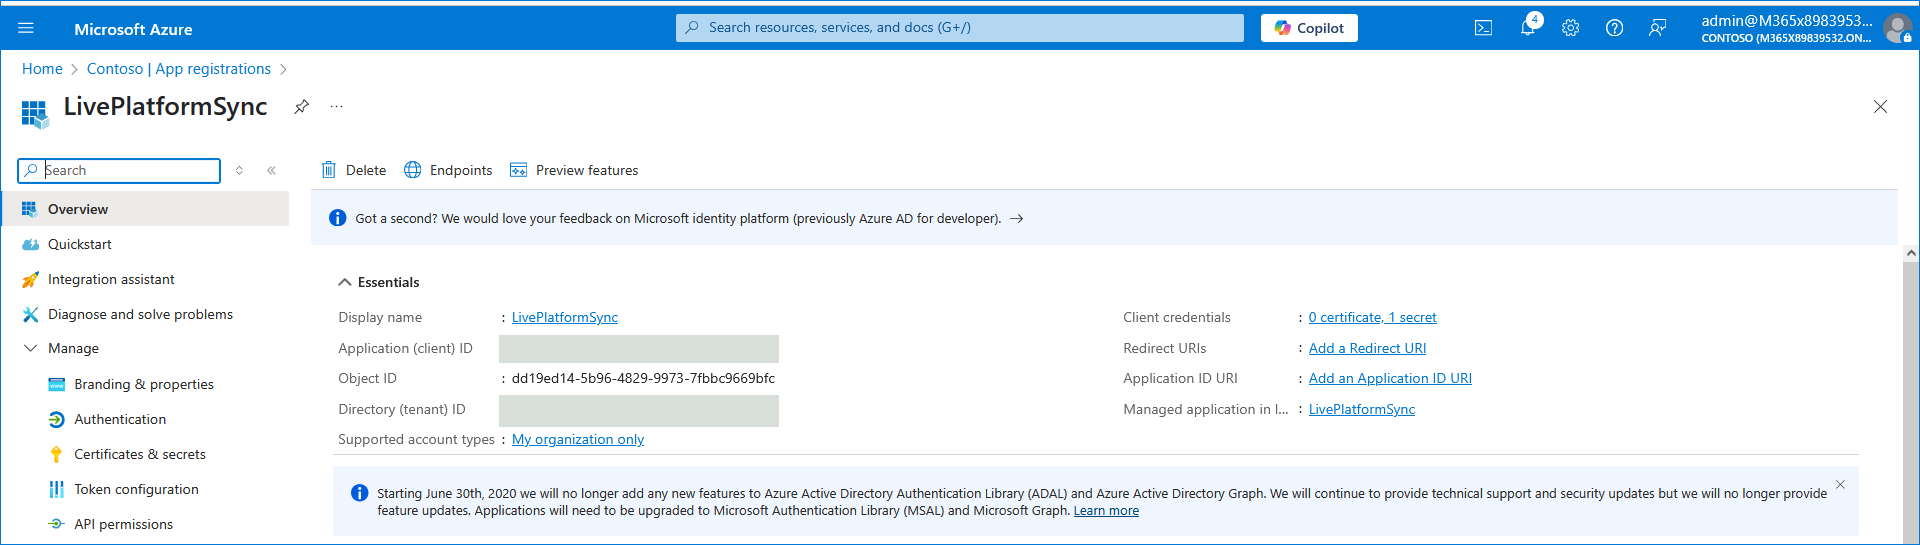
| 8. | In the Overview page, Copy the Tenant ID and Application (client) ID value. |
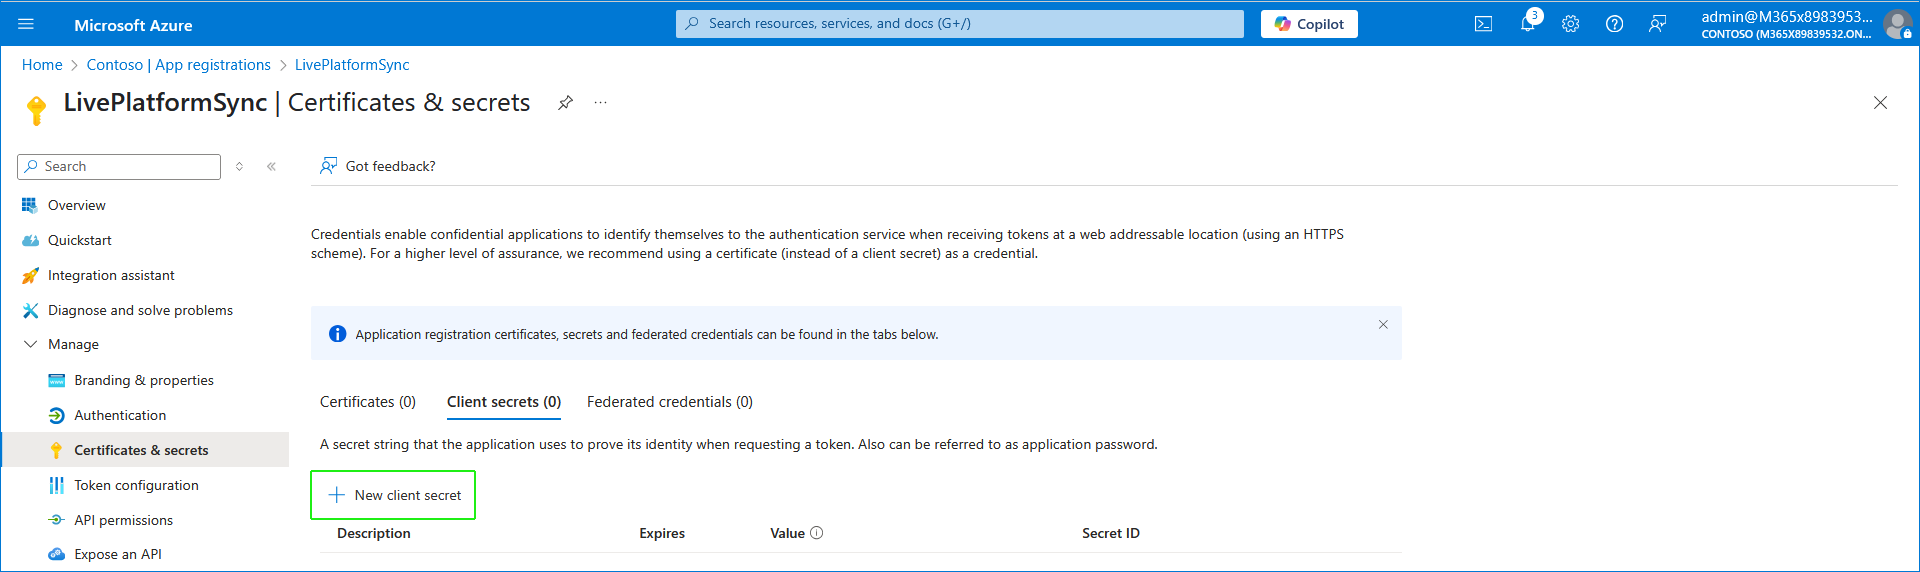
| 9. | In the Navigation pane, select Certificate & secrets. |
| 10. | Click New client secret to add a new client secret. |
| 11. | Enter the Description for the secret and the Expires date (recommended 72 months) and then click Add. |
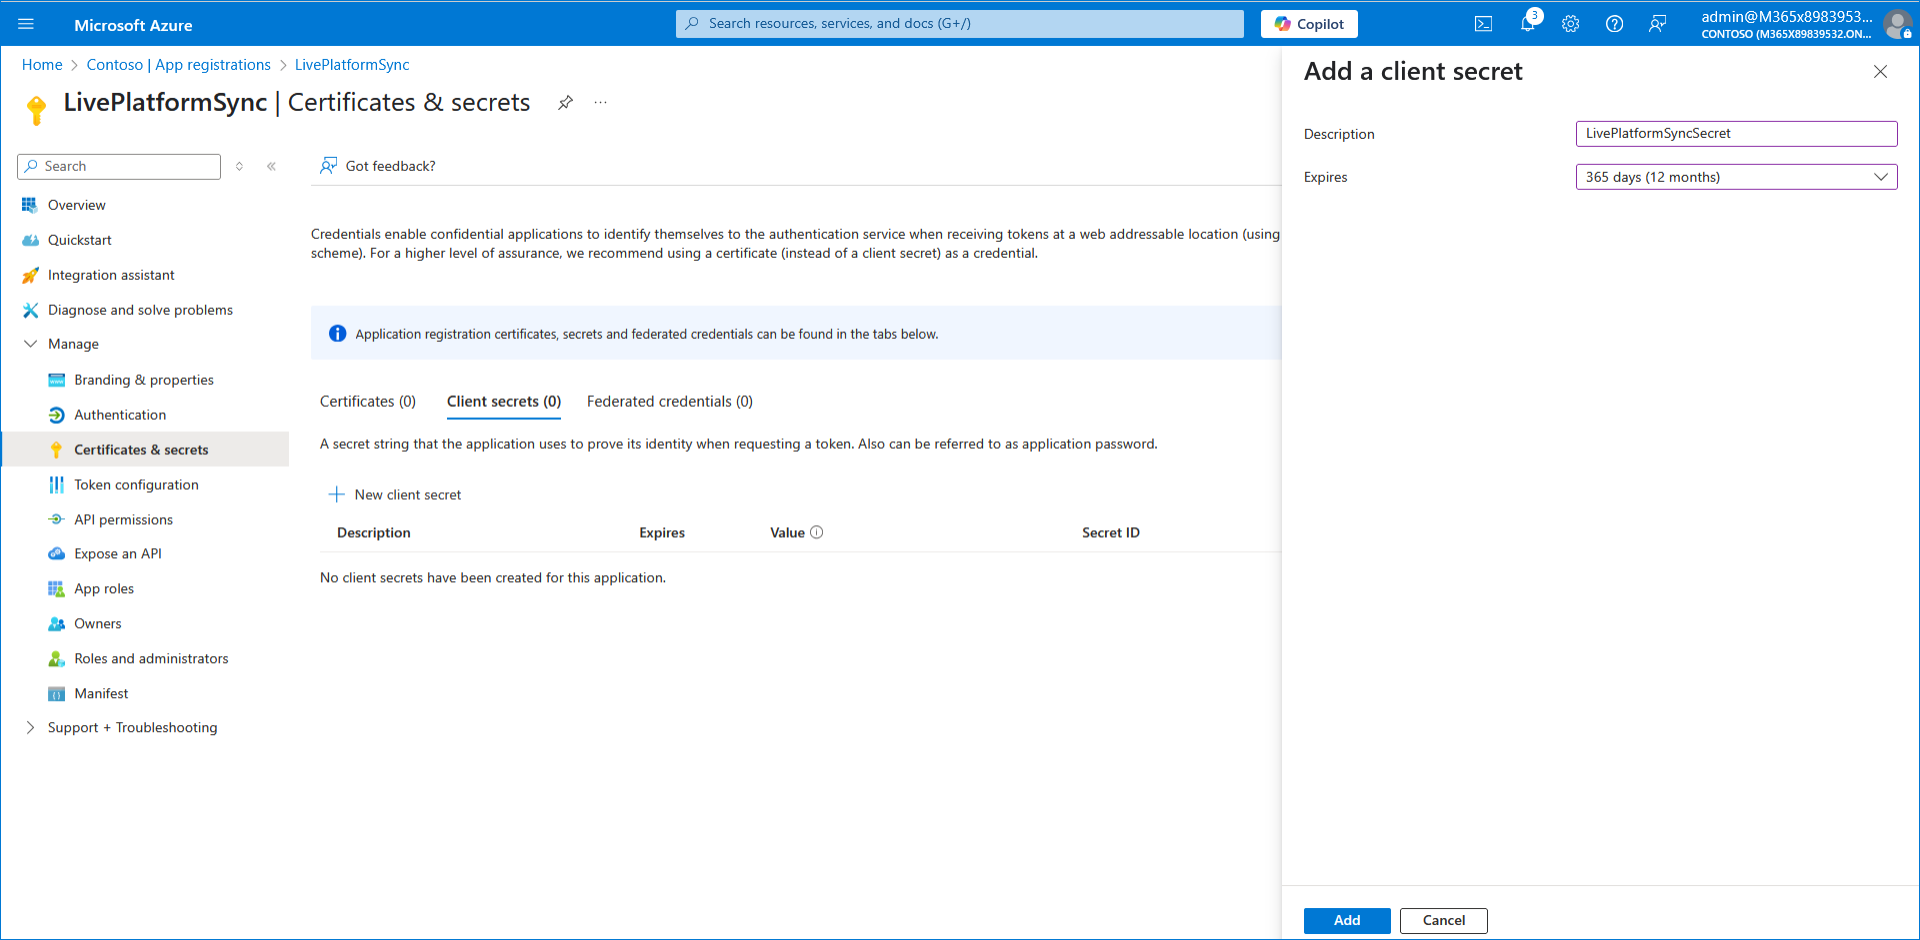

| 12. | Copy the value to clipboard as its required for later configuration in the Service portal. |
| Copy the value immediately to notepad as it hashed after a short time. |
| If you use the Application registration to create additional services, a new secret should be created for each new service. |
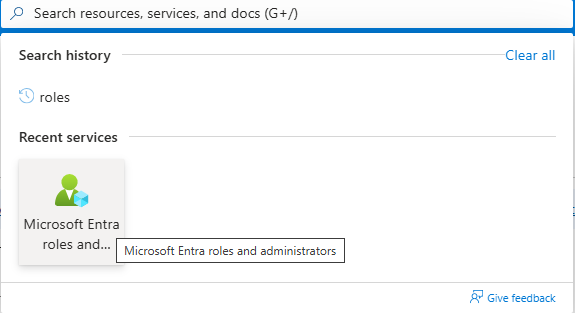
| 13. | In the search box in the Menu bar, type Microsoft Entra Roles and administrators. |
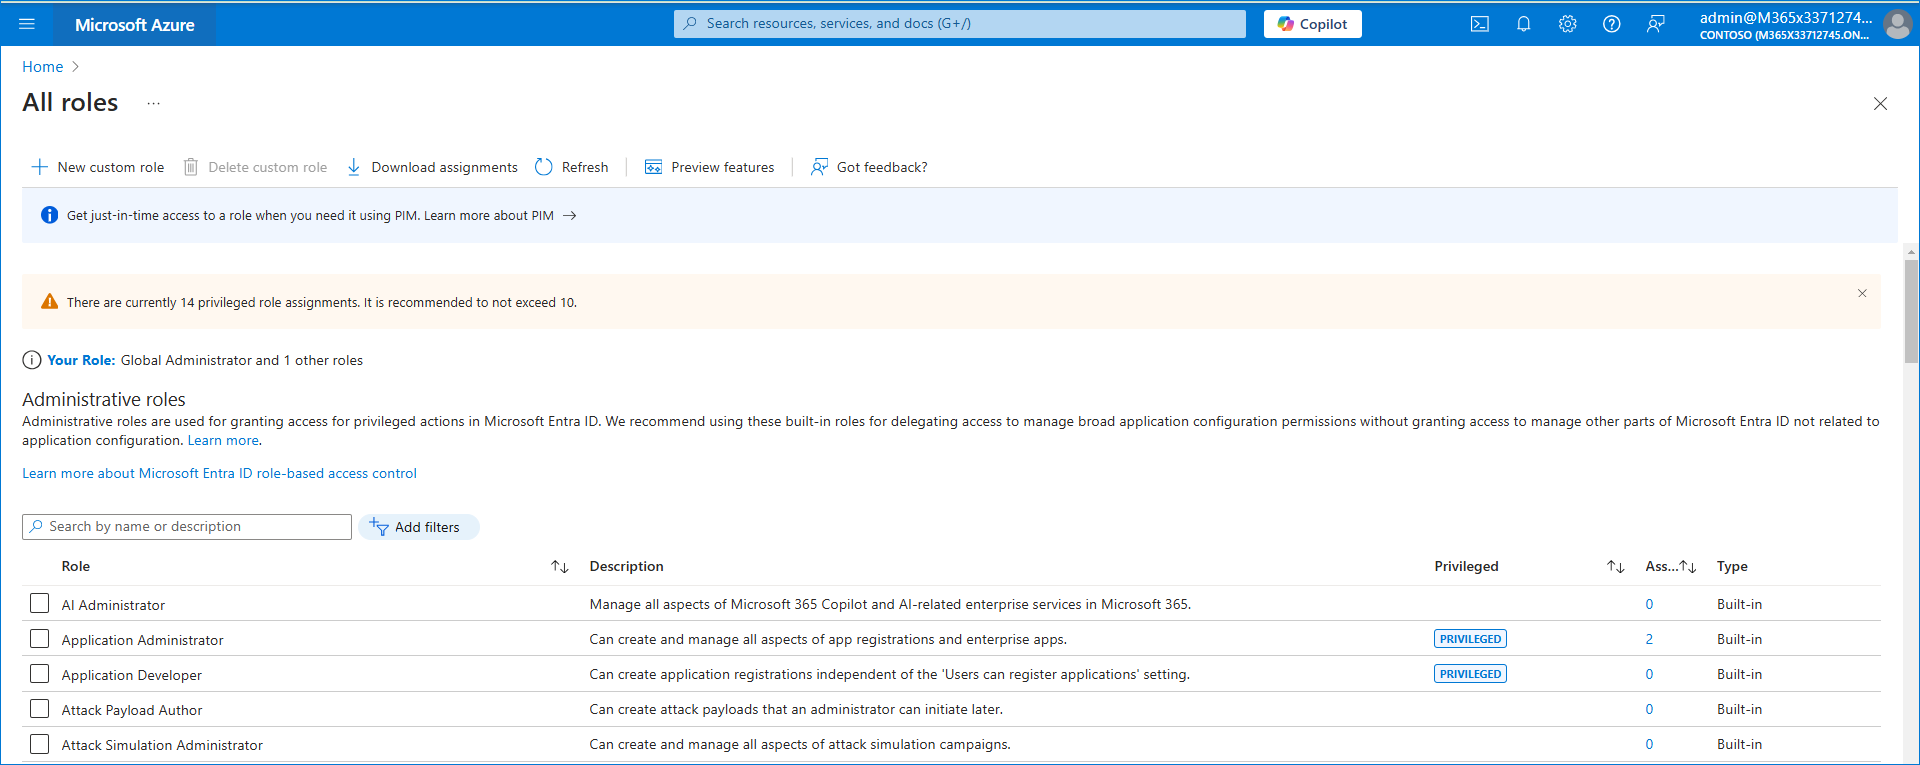
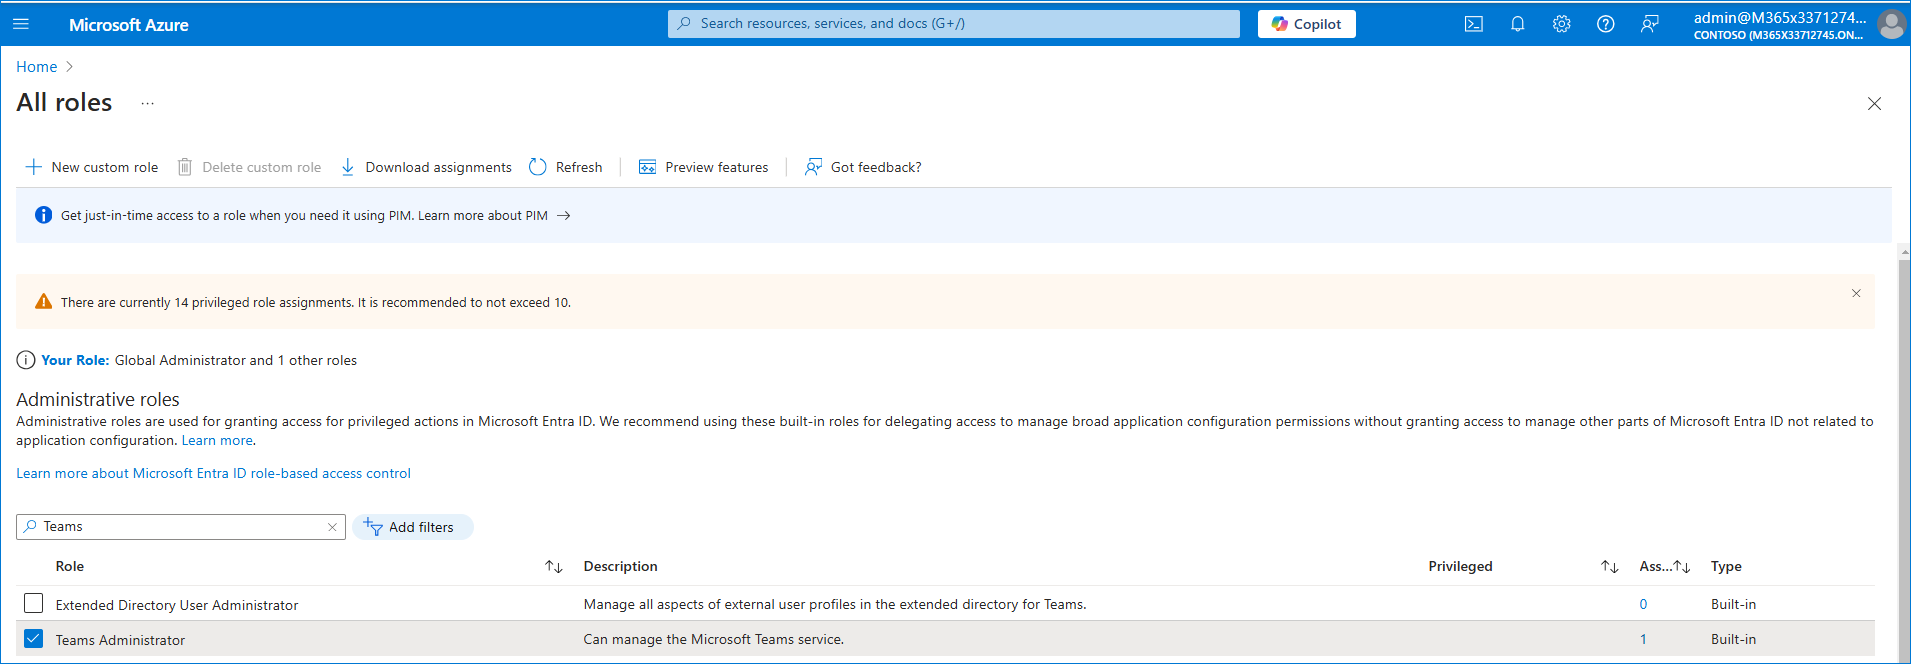
| 14. | In the Search box, enter the name of the role that is required for the Application Registration creation process according to the table shown in Secure Connection using Application Registration , and then select the check box for the entry. |
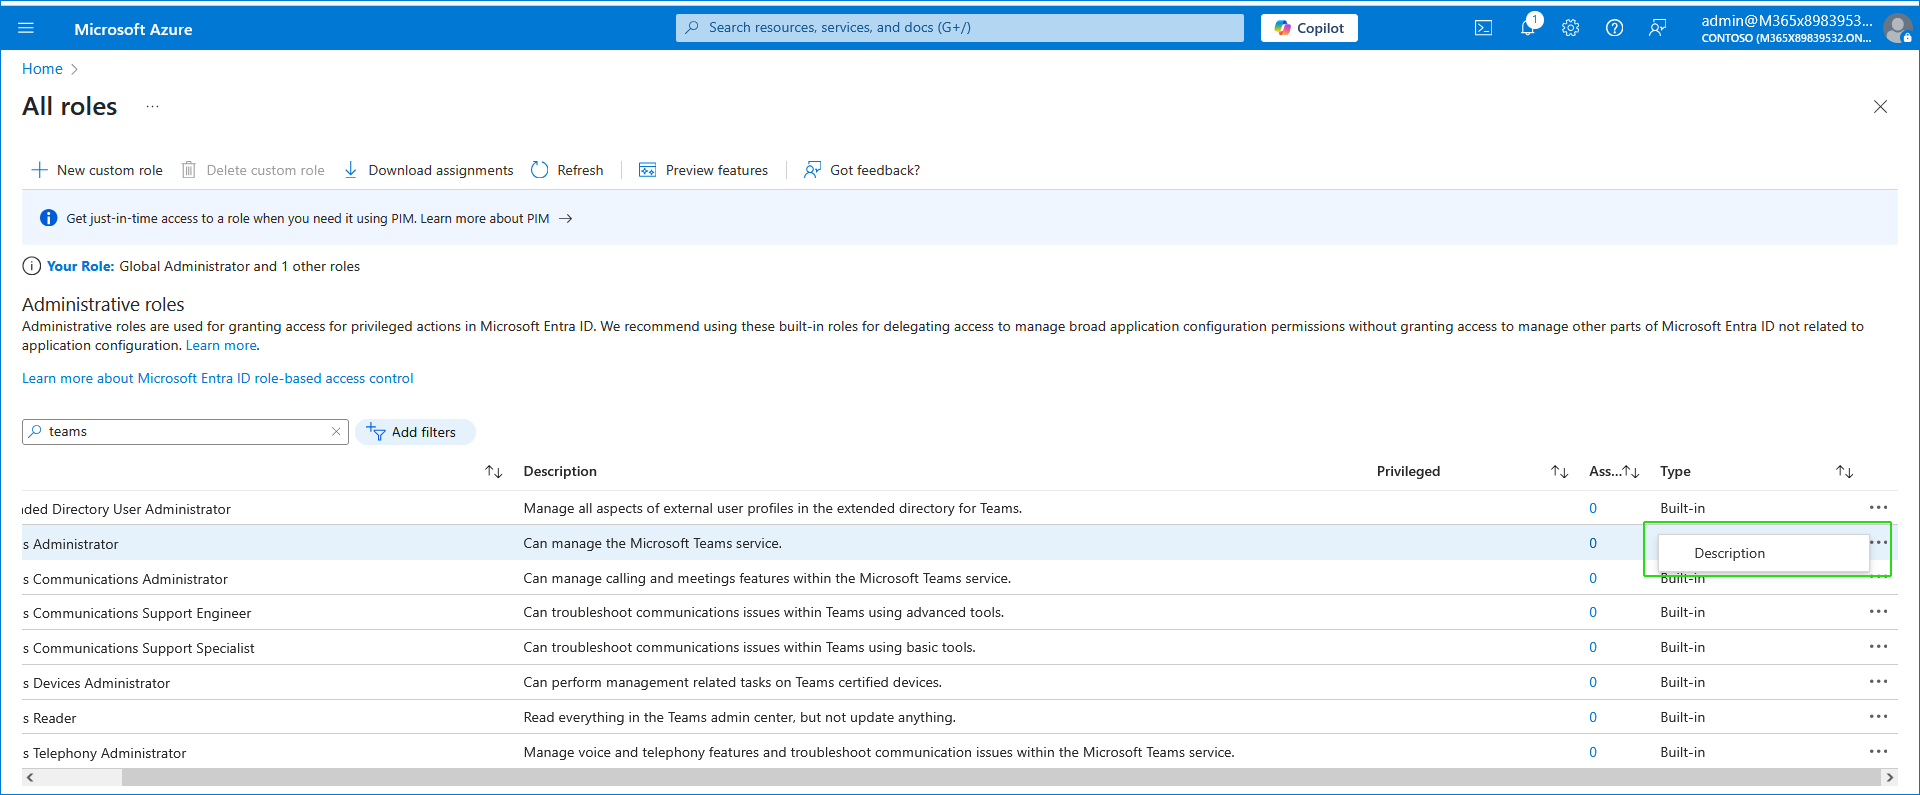
| 15. | Scroll to the end of the line for the entry, right-click ...and then clickDescription. |
| 16. | In the Navigation pane, click Assignments. |
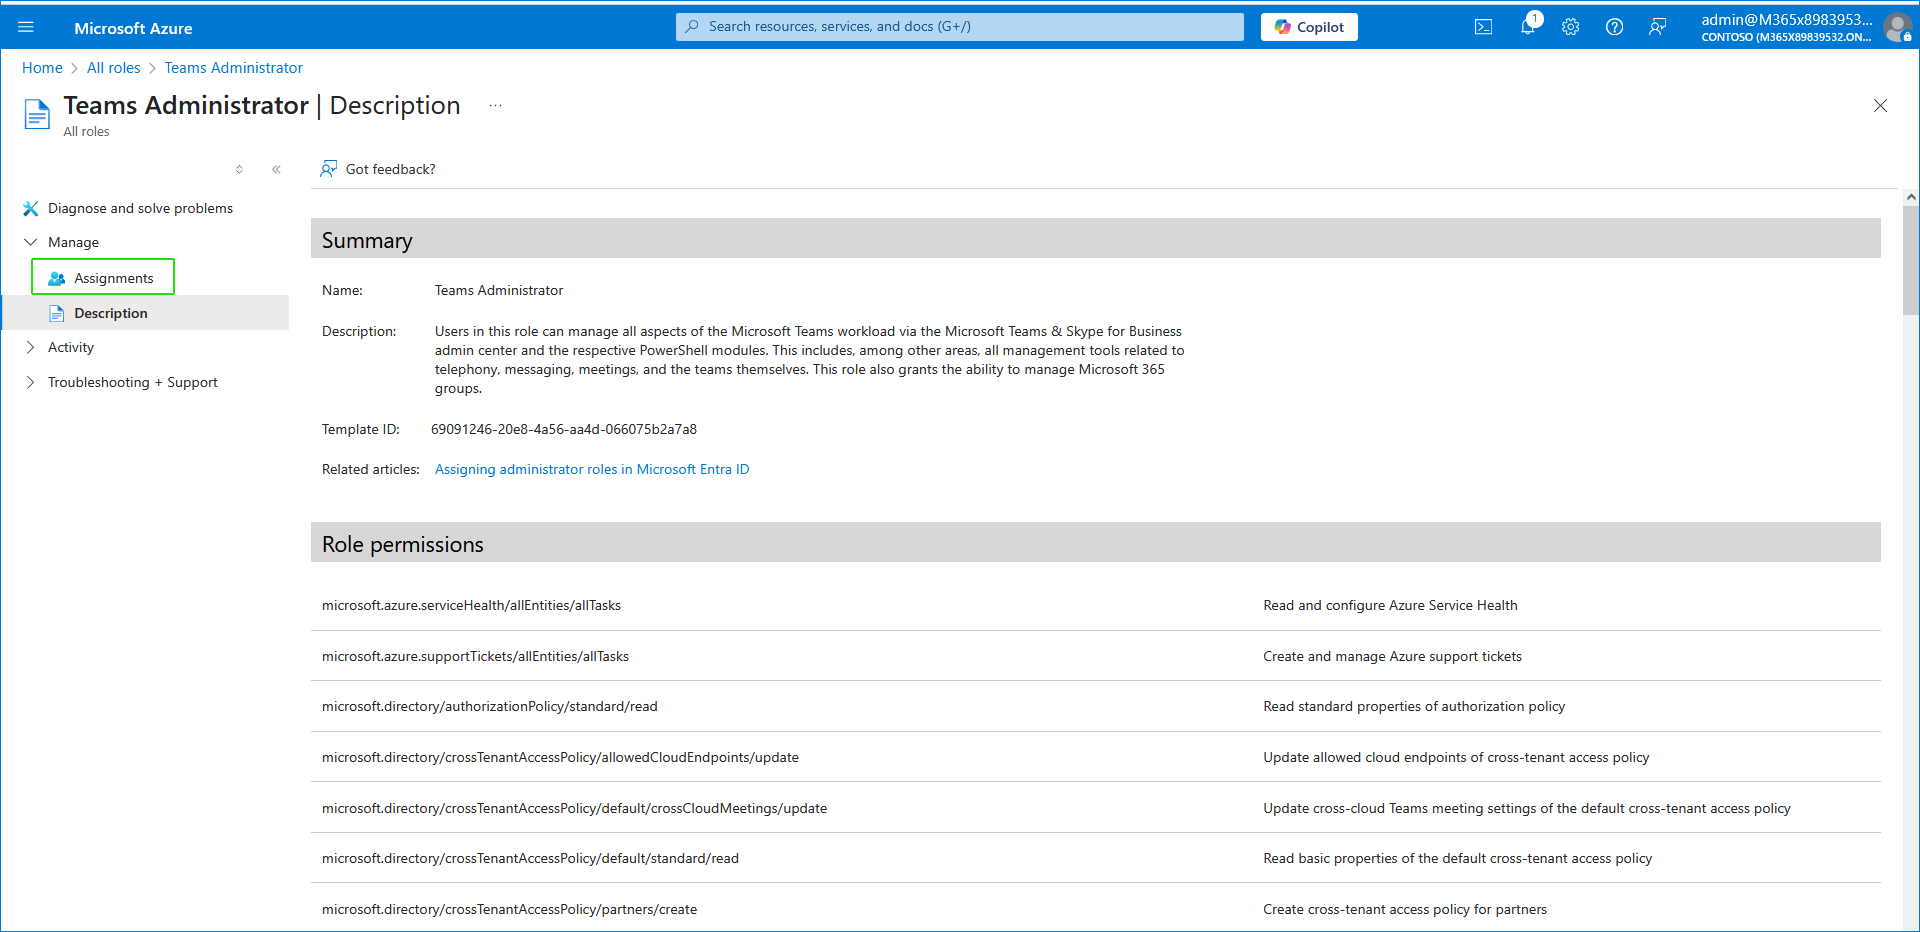
| 17. | Click Add assignments. |
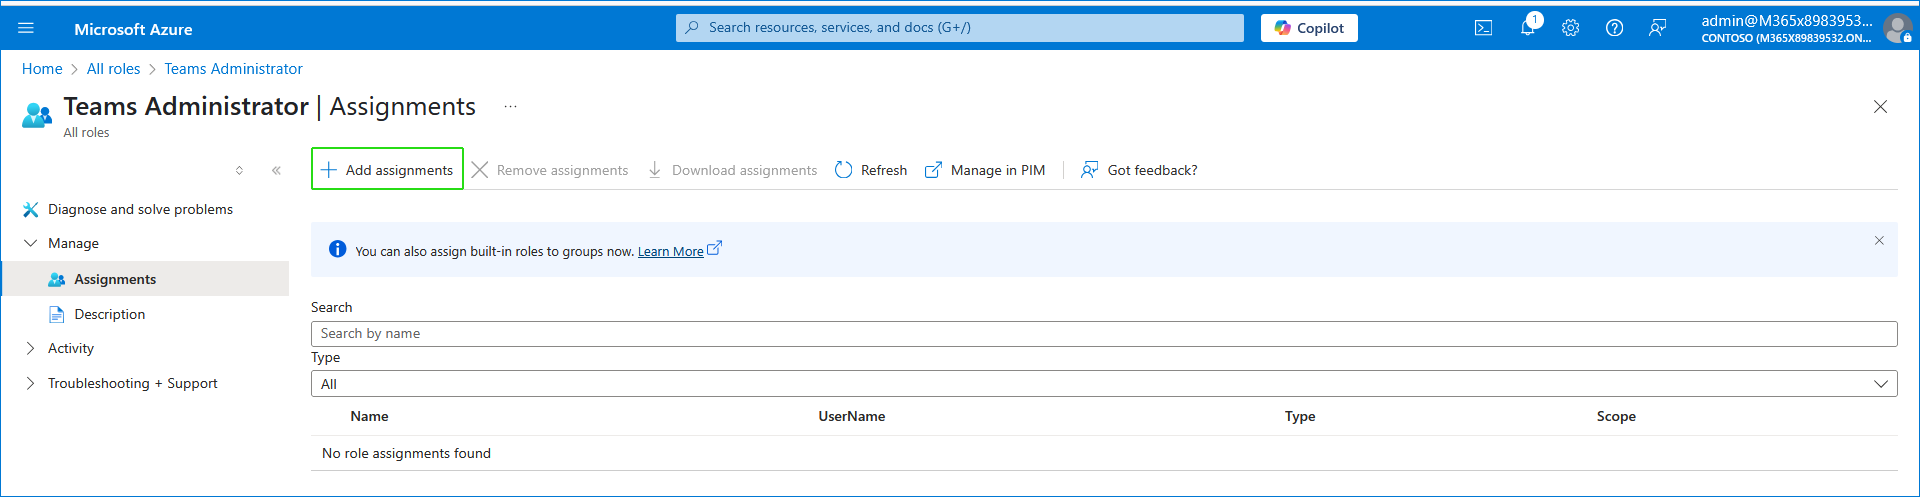
| 18. | Search for the name of the Application Registration that you created above, select it and then click Add. |

The new association is displayed.
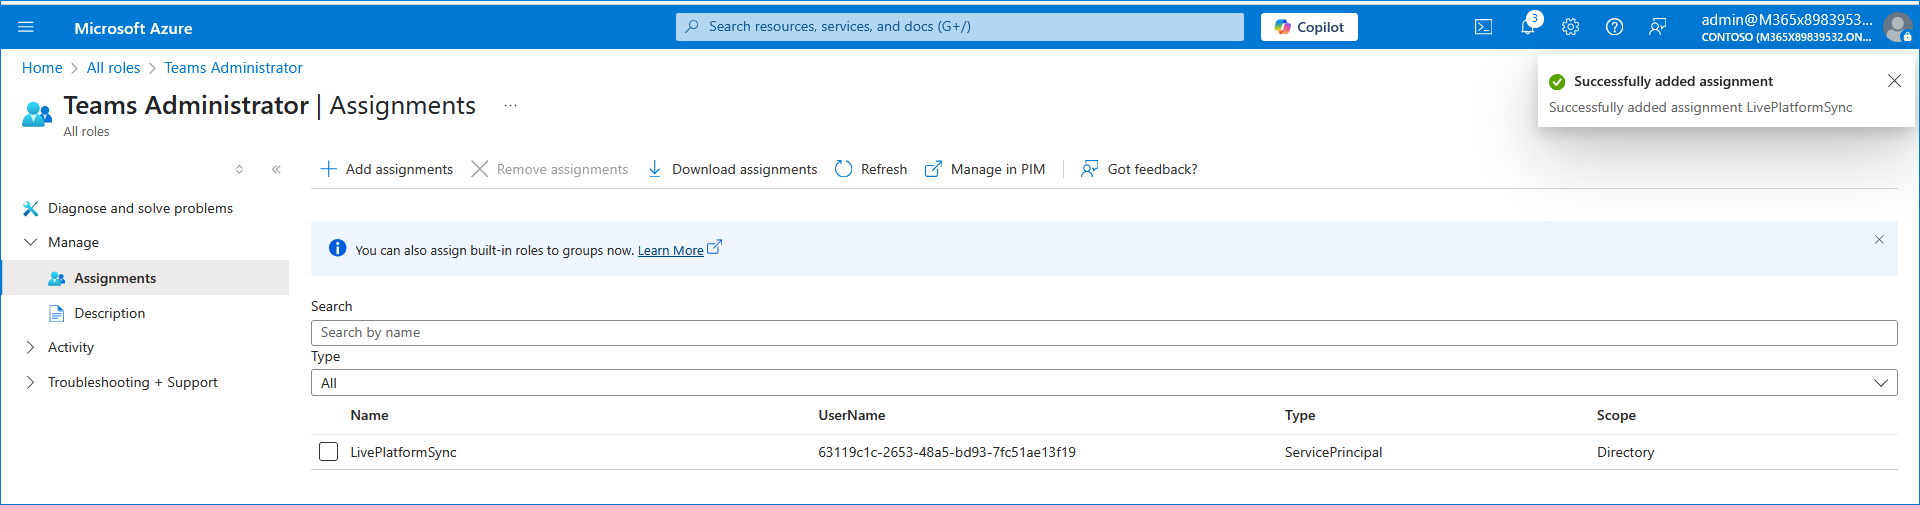
| 19. | Repeat the above steps for each required role. |
To complete the authentication, after creating the app registration manually, follow these steps:
- Use the email sent by Colt
It contains a personal token and a link to access the login page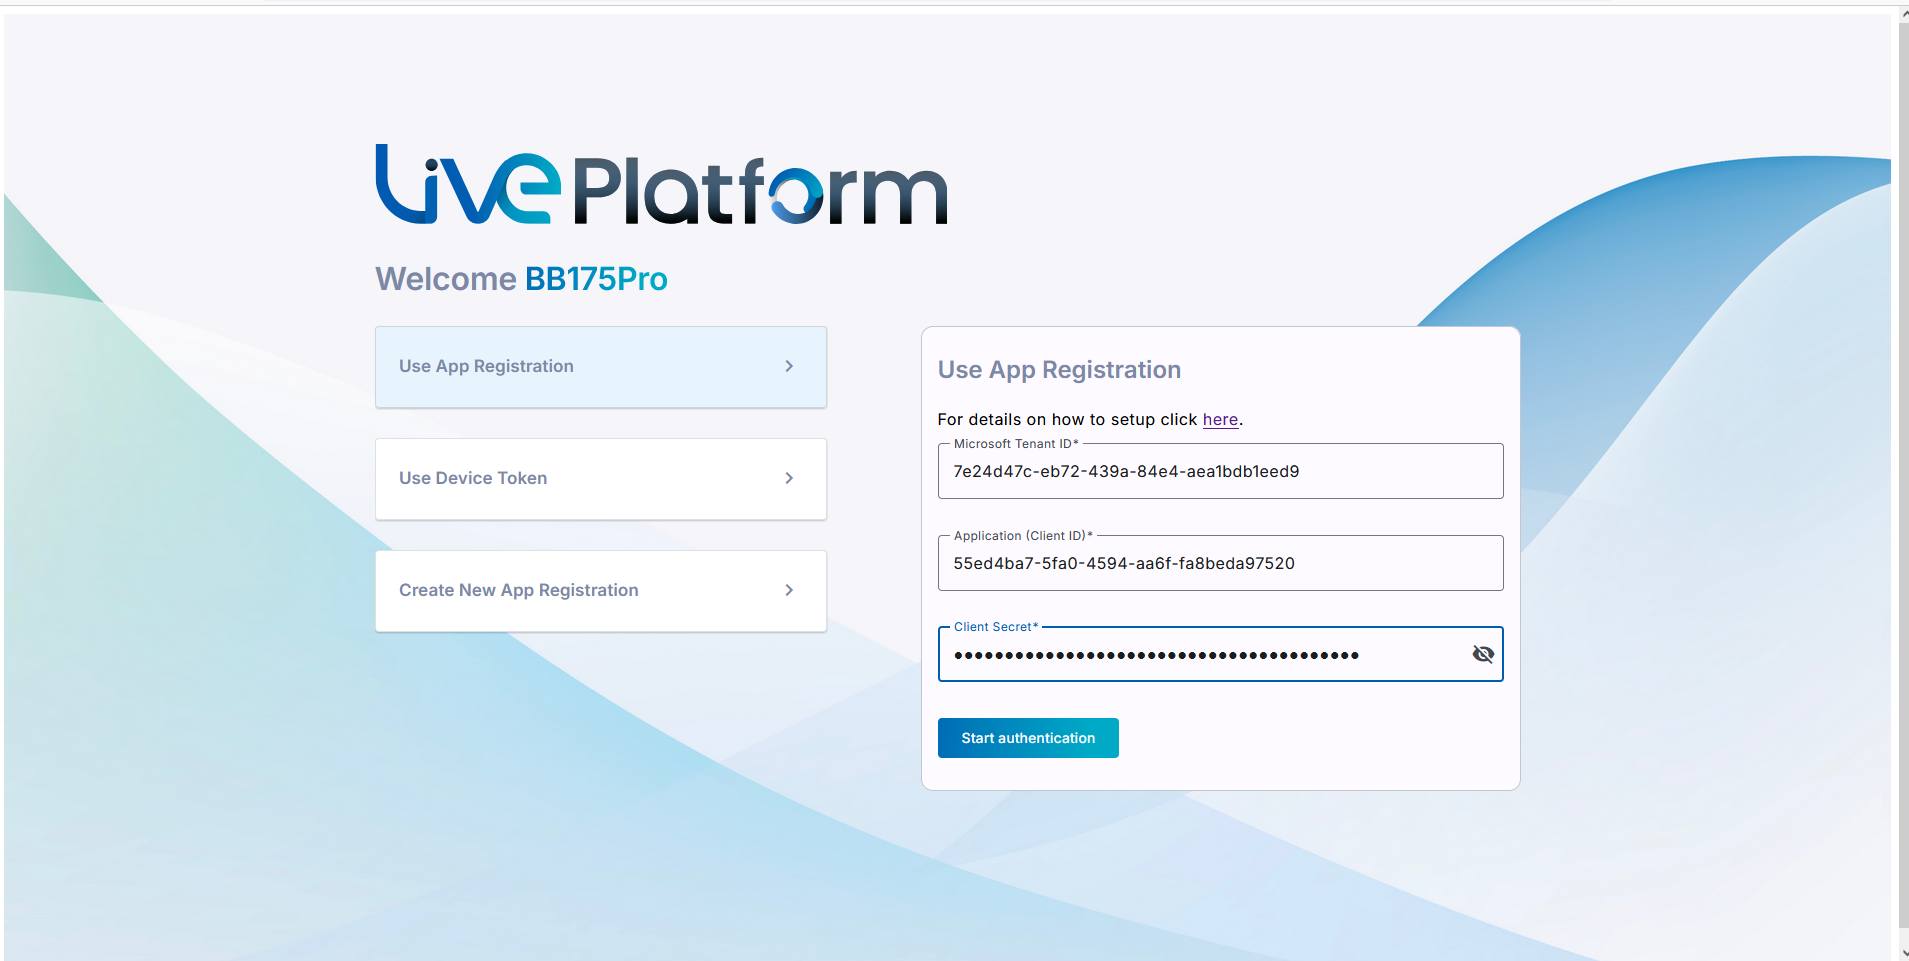
- On the login page, enter the following details:
- Tenant ID
- Application (Client) ID
- Client Secret from your App Registration
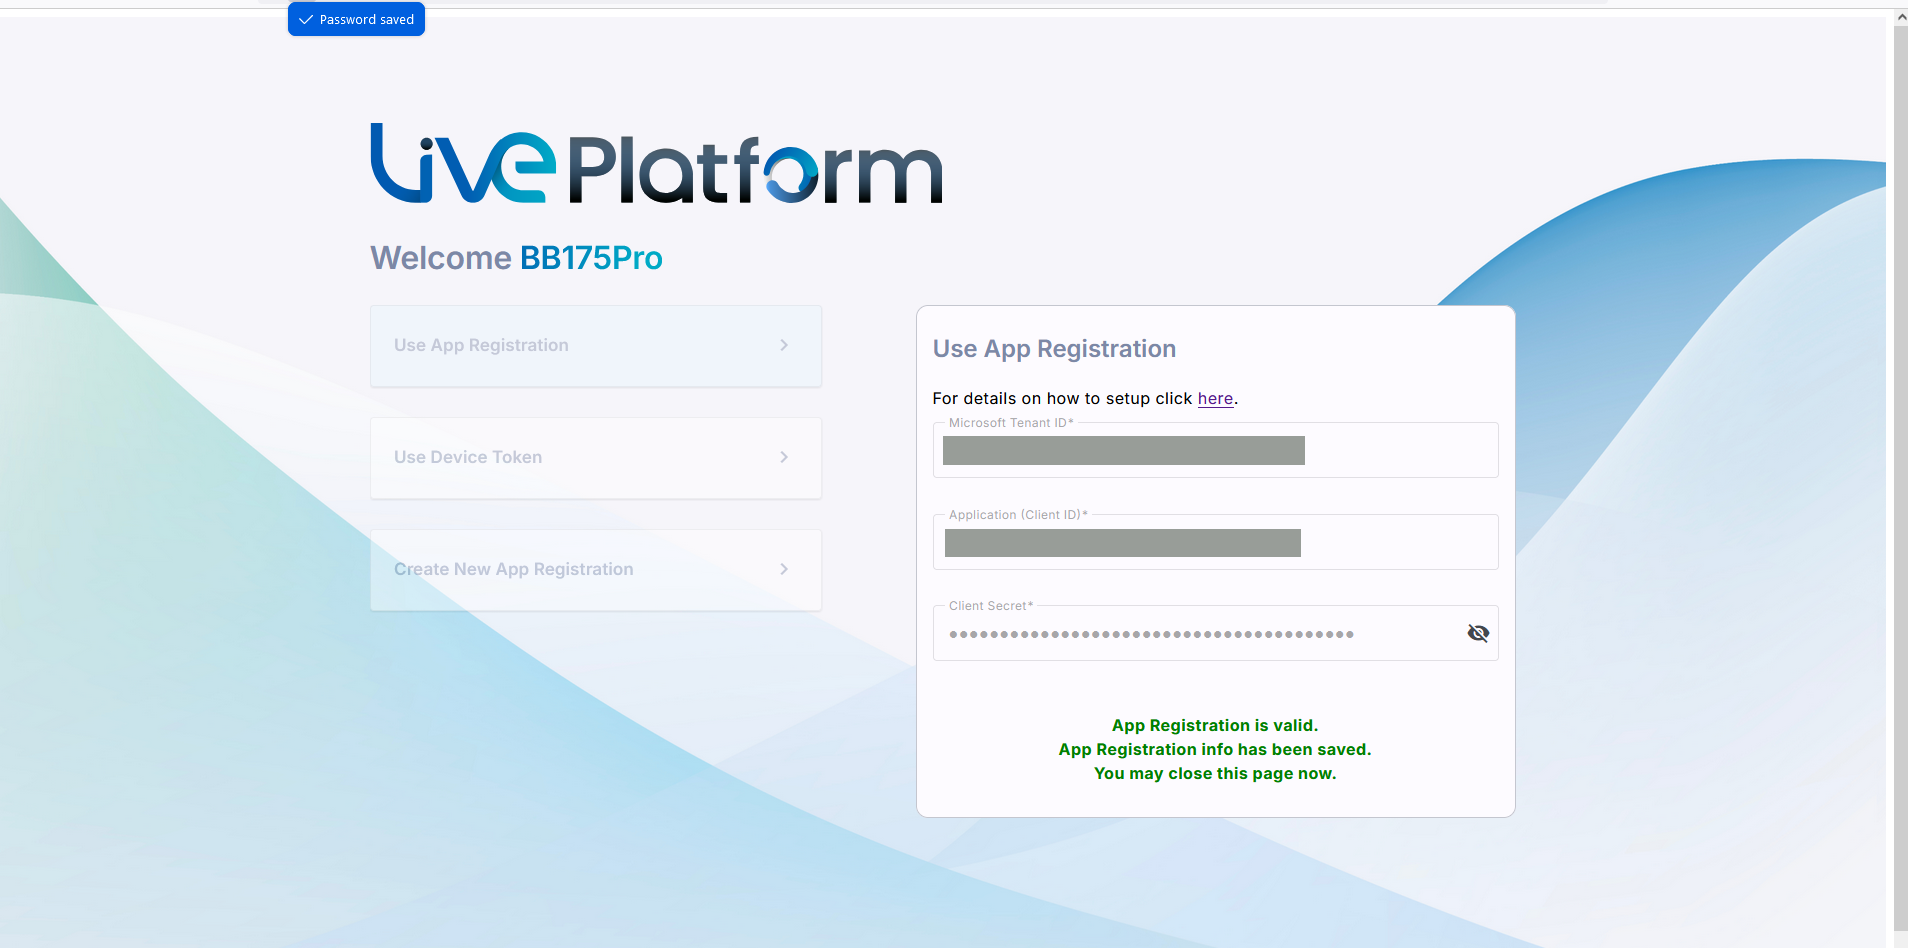
| 3. | A confirmation message is displayed that the Application Registration is valid. Close the window. |
4. Confirm the creation with the Colt delivery team
Once the application registration is complete, notify the Colt delivery team so they can validate the onboarding process.
| Role | Purpose | When Needed | Notes |
|---|---|---|---|
| Application Administrator | Creates the app in Azure automatically | Onboarding only | Can be removed after onboarding |
| Teams Administrator | Manages Teams, voice routes, users | Onboarding + Daily use | Needed unless using the two roles below |
| Teams Telephony Admin + Skype for Business Admin | Manages calling, meetings, legacy commands | Onboarding + Daily use | Used together as an alternative to Teams Admin |