How to create a user to access Network Services – Performance Reports (Skylight Analytics)
Home > Service Support >
- How to update your profile settings?
- How to enable Single Sign On for Colt Online?
- What options are available in Colt Online?
- Which notifications/subscriptions are available in the contact management module?
- How do subscriptions and the contact management module in colt online work?
- How can I view the notifications/subscriptions that I am set up to receive from colt?
- What is Planned Works ?
- What is the Order Management Portal?
- CLI Presentation
- Colt Versa SD WAN & SASE – External Service Guide
- Getlink LDN Access Procedure
- Dedicated Cloud Access External Service Guide
- Colt Operator Connect Management Portal for Partners
- Assign a role to an existing user
- Remove the role of a user
- Modify the account group of the user
- Create a new users and assign the IPG role
- Ethernet VPN- External Service Guide
How to create a user to access Network Services – Performance Reports
Customer Administrator users can create new users in Colt Online and provide access to Network Services – Performance Reports for a specific service(s). See below the steps to create a user with Network Services – Performance Reports access
Step 1 – Login to Colt Online
Step 2 – Go to Administration settings
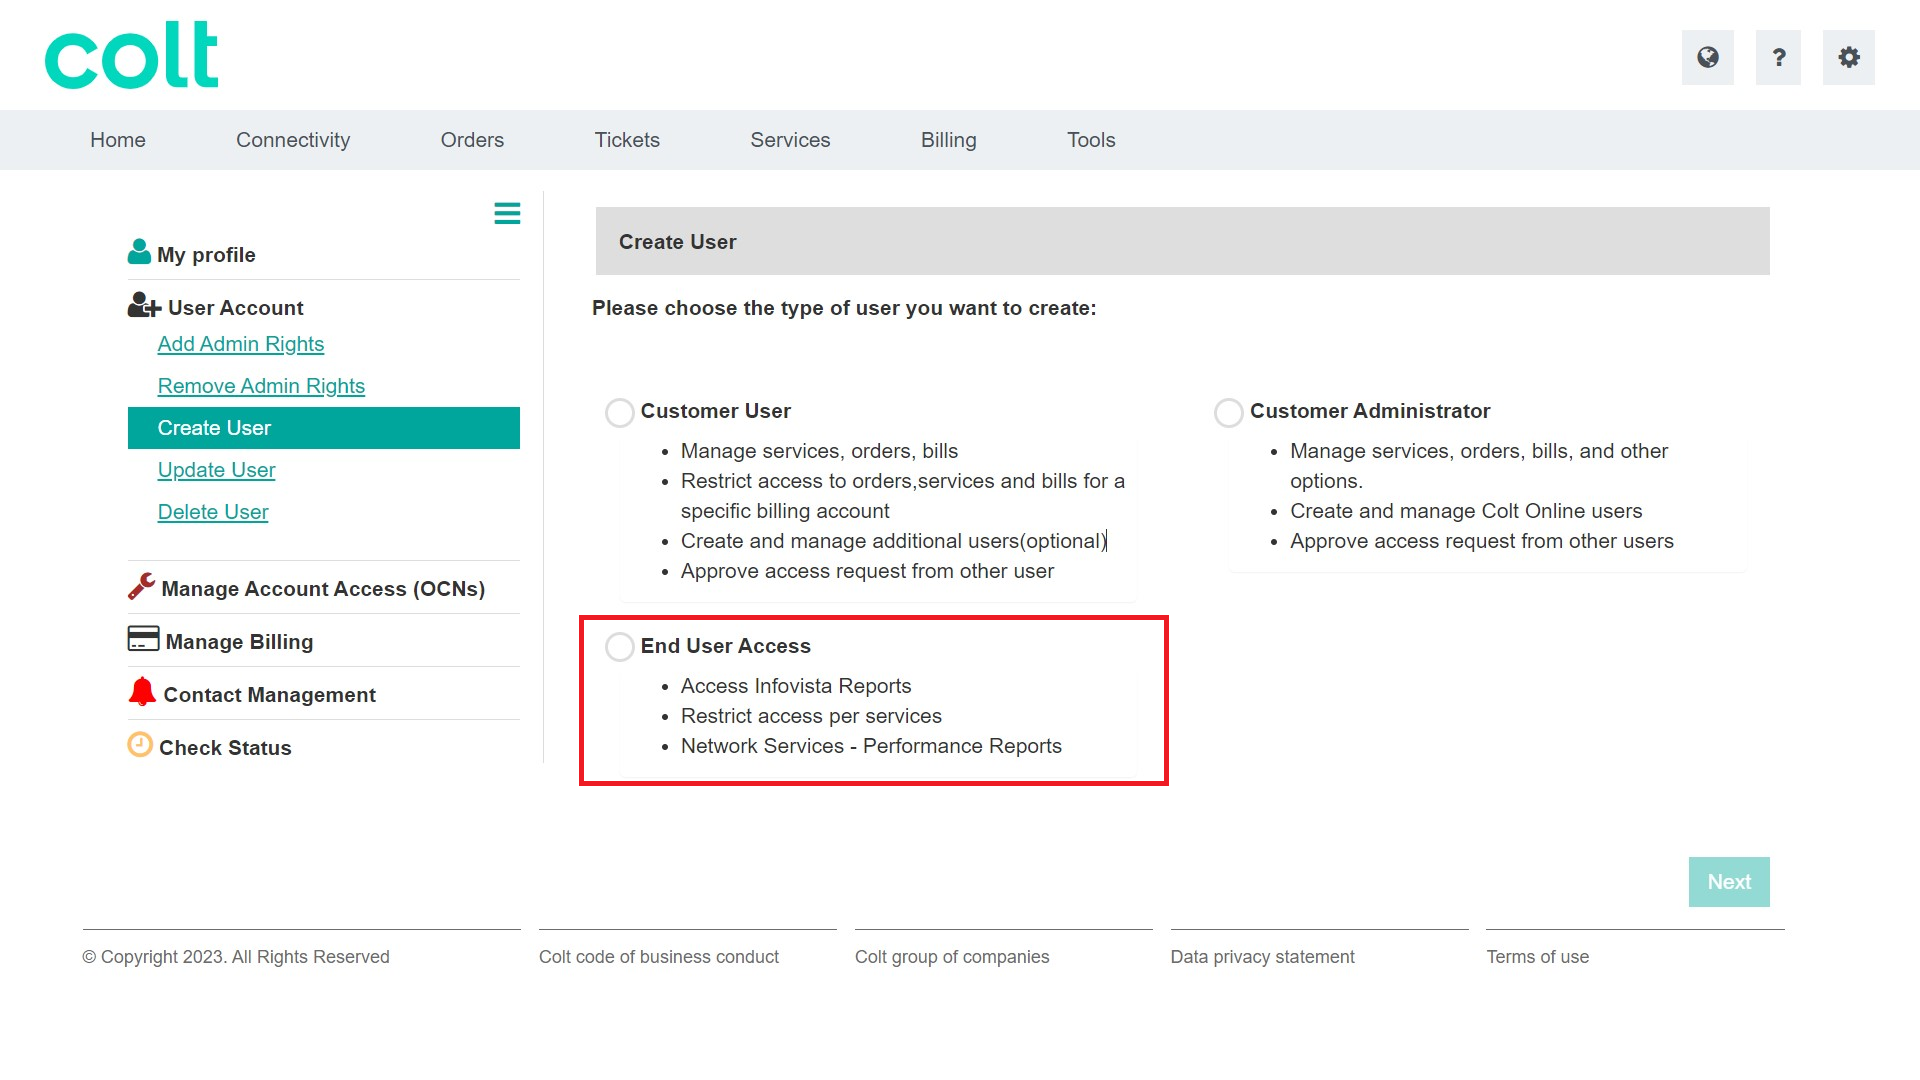
Step 3 – Click on Create User

Step 4 – Select the user type – “End User Access” and click Next
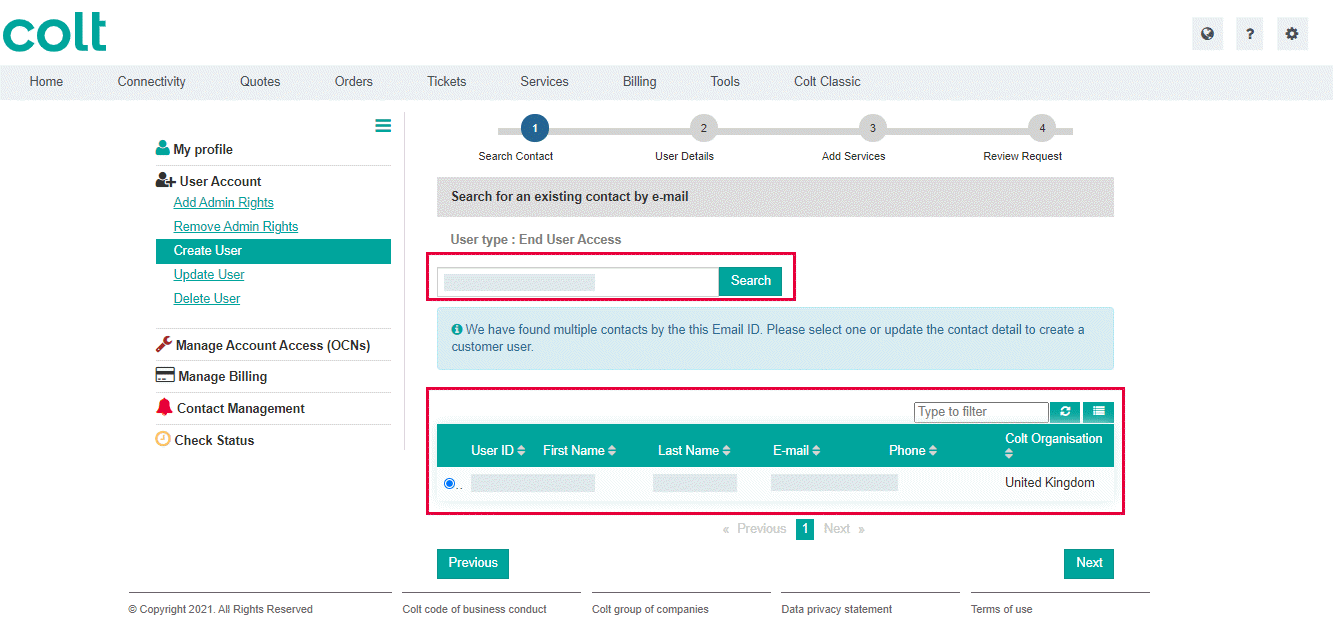
Step 5 – Enter the email address of the user you want to create. Select one of the existing contact displayed in the table and click Next
Note: Colt Online will check if the email address already exist. Select the contact shown in the table or go to Step 6 to enter manually the user details
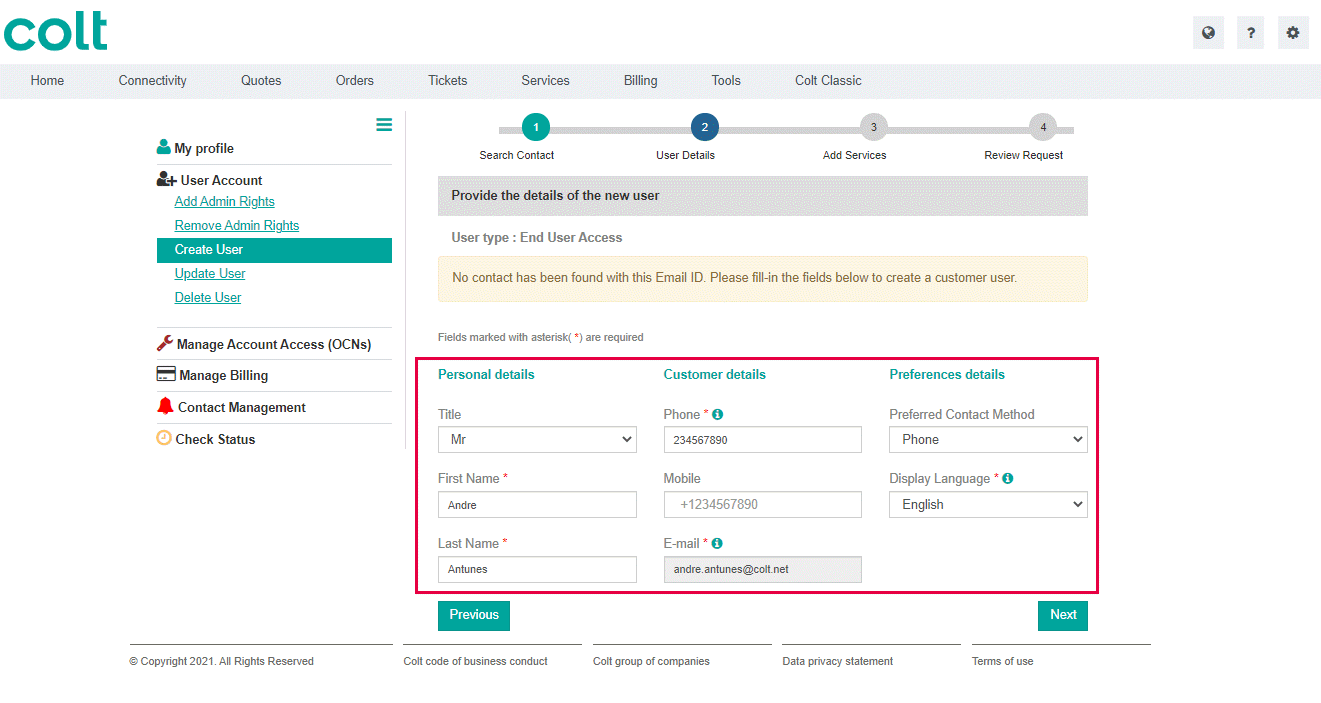
Step 6 – Review the user details or enter the mandatory details an click Next
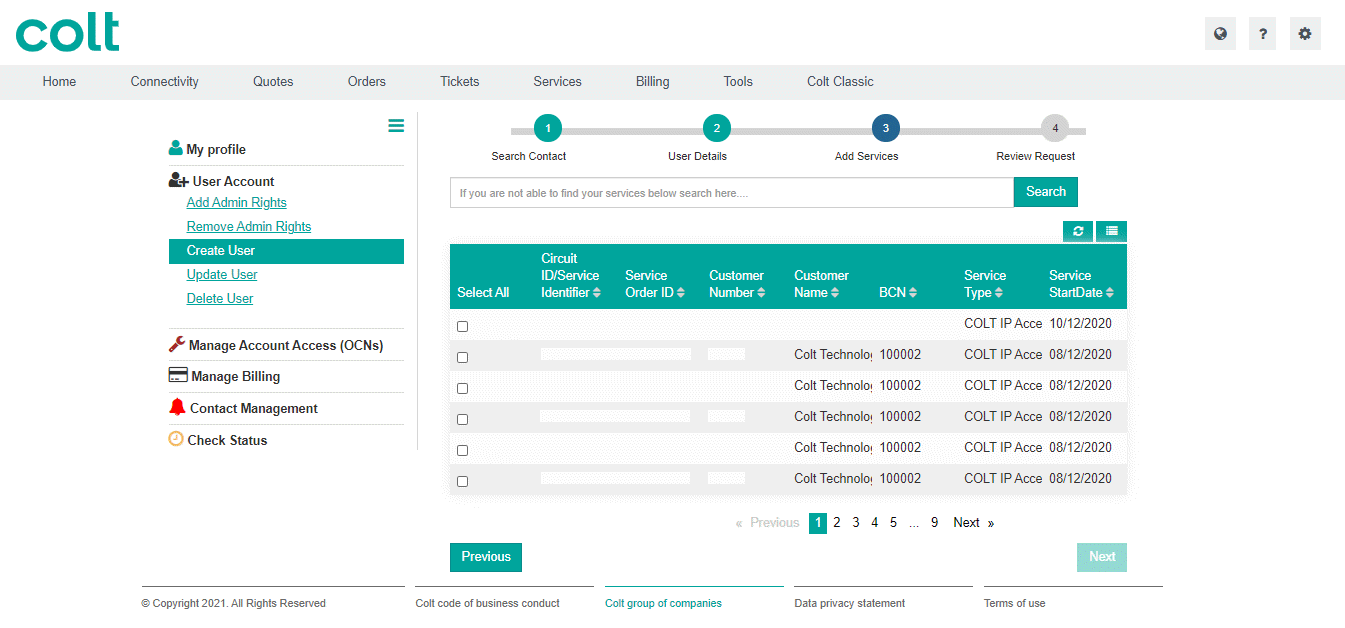
Step 7 – Select the services you want to give access to your user. User the search bar to filter the result if needed. Then click Next
Note: You can only give access to the Services that you have administrator rights. Click here to know more about Customer Administrator access
Step 8 – Review the details and click Confirm.
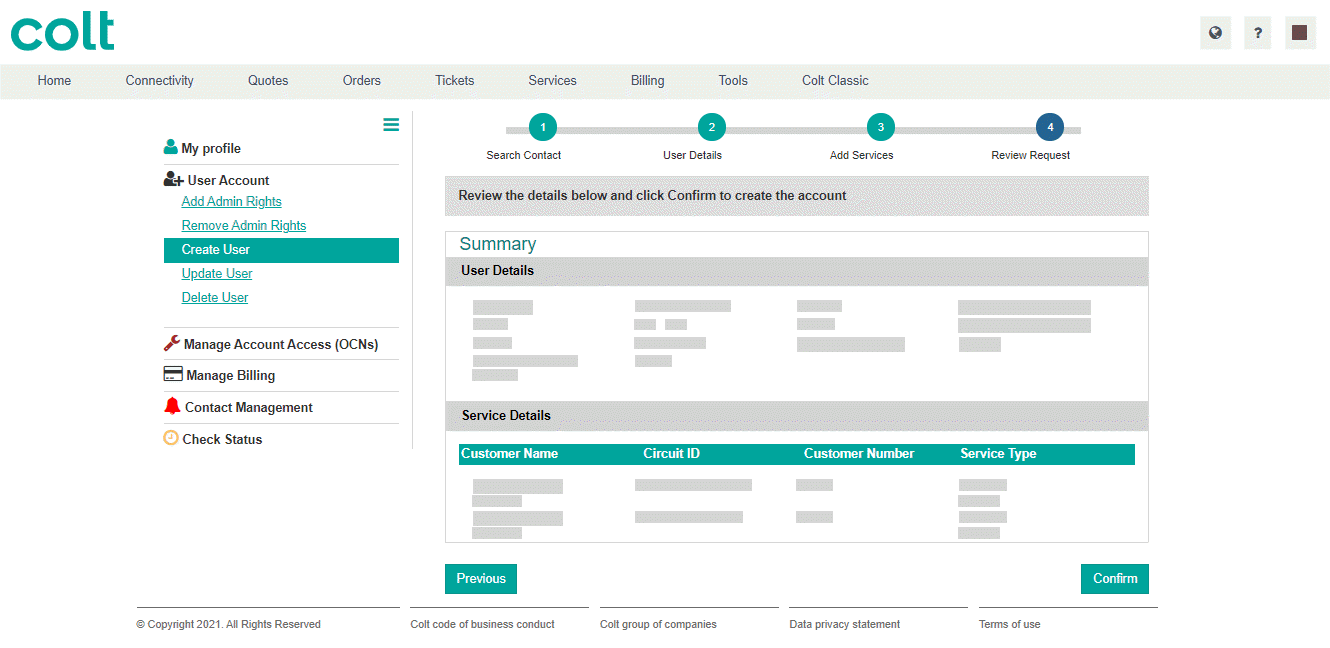
User is created and credentials details are sent to the user by email.